Build a Repeatable Extraction Loop
Progress in Quasimorph matters because a reckless contract can erase the gear needed for the next several runs. The dependable route is turning safe extractions into supplies, trade access, classes, and ship upgrades.
Treat each contract as an investment. A low-risk mission that returns medicine, components, chips, and usable weapons is more valuable than a dramatic job that consumes your best kit. Early on, the goal is to make a normal loadout replaceable.
After the tutorial, unload the operator before choosing another contract. Return weapons, ammunition, medicine, and armor to the Magnum cargo hold so you can plan from your real inventory. Check guns for ammunition still loaded inside them; rounds stored in an unused weapon cannot help the mercenary you deploy.
| Early priority | Why it matters | Practical approach |
|---|---|---|
| Finish the tutorial safely | Preserves starting resources | Reload, inspect objectives, and avoid blind breaches |
| Start basic production | Reduces reliance on lucky medical drops | Install a Conveyor when materials permit |
| Run local contracts | Lowers travel and expiry risk | Favor nearby jobs with clear objectives |
| Extract after success | Secures gains before danger grows | Loot selectively after completing the objective |
| Preserve rare gear | Prevents a death spiral | Use replaceable kits while learning |
Take nearby contracts whose objective, floor count, and risks you understand. Do not cross the system for an ordinary reward unless the trip solves a specific problem, such as a needed Magnum component, a deliberate story step, or several useful jobs in one region.
Failures are normal, but each should reveal a fix. If ammunition ran out, avoid needless fights or change weapons. If hunger ended the run, bring food and use stealth more. If a doorway killed you, improve scouting instead of assuming heavier armor will solve it.
Choose Contracts and Factions With Purpose
A contract affects more than your inventory. It changes faction power, technology, reputation, and future trading options. Reputation improves barter access, while technology influences the tier of equipment a faction can offer.
Choose one or two major factions to support consistently. Spreading reputation across everyone makes it harder to build reliable suppliers. Avoid attacking a faction you want to trade with: negative standing can lock you out of its stations and put faction-specific credit at risk.
| Contract type | Core objective | Early-game value |
|---|---|---|
| Sabotage | Destroy designated equipment | Good when you can reach the target and leave |
| Elimination | Defeat a high-value target | Focused combat, but expect strong guards |
| Espionage | Steal an item and extract | Rewards careful routing and quick exits |
| Conquest | Clear enough enemies on every floor | Profitable but supply-intensive |
| Defend | Hold out against attackers | Often difficult to provision and recover from |
Skulls are useful, but they are not the full difficulty picture. Enemy technology, power concentration, mission type, floors, and Quasimorphosis can make a low-skull job dangerous. Read the briefing before risking an expensive weapon or favored clone.
For a fresh campaign, favor predictable objectives and manageable exits. Defense missions can be difficult for early builds because their loot is less dependable and prolonged fighting burns ammunition, food, and healing. Conquest missions can pay well, but only if you can sustain several floors.
Mars and its moons can provide a gentler place to establish reserves before wider Quasimorphosis pressure becomes central. Wherever you operate, do not let a dramatic map marker decide your next move. Build capacity first, then accept larger risks.
Survive Missions With Positioning and Loot Discipline
The most important progression skill is extraction. A mercenary with good positioning and an exit plan is often safer than a heavily armored mercenary who explores every room.
Use movement modes deliberately:
- Use stealth to sense threats behind doors and conserve calories while scouting.
- Use normal movement for most fights, where you need actions to open a door, shoot, and retreat.
- Use running to create distance or support a class built around it, but remember its accuracy penalty and interaction limits.
- Never open an unknown door with your final action. Scout first, then breach with actions remaining.
- Fight from corners and doorways so enemies reach you one at a time.
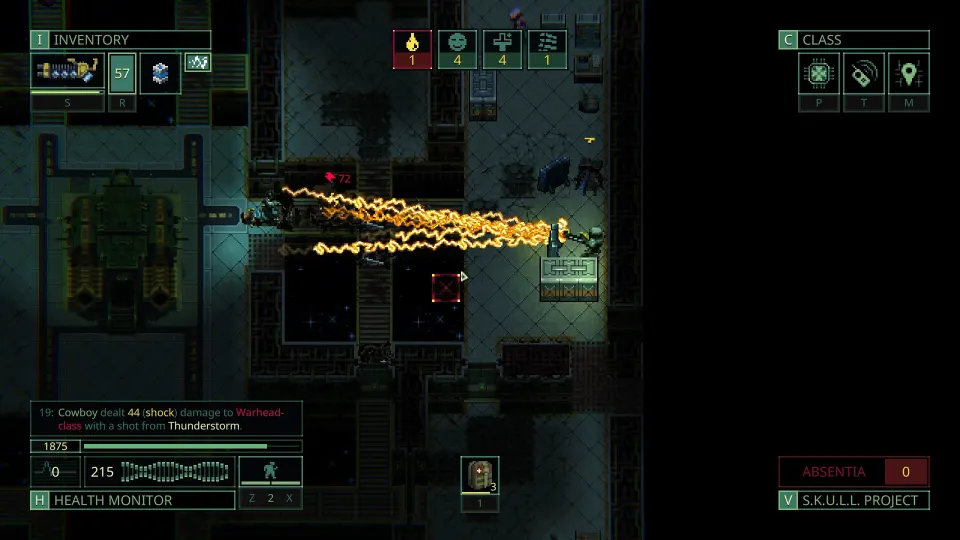
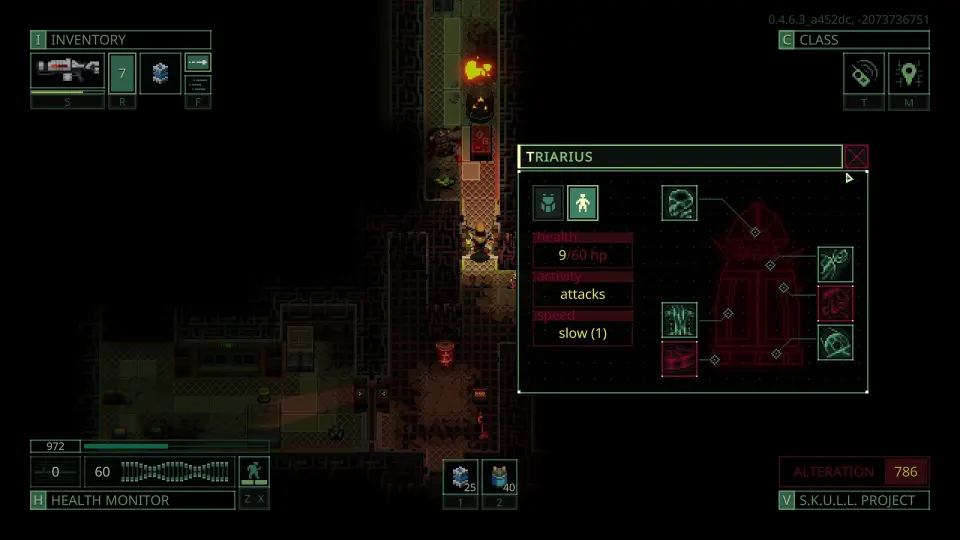
Prioritize enemies carrying high-damage rifles, energy weapons, flamethrowers, or unusually fast movement. Melee enemies become deadly at close range, but ranged threats can end a run before you can reposition. Inspect enemies when possible and remove the weapon that can break your defensive position first.
| Loadout element | Early recommendation | Common mistake |
|---|---|---|
| Main weapon | Bring a reliable gun with replaceable ammunition | Carrying too few compatible rounds |
| Backup weapon | Pack a light option for isolated threats | Hauling multiple heavy weapons |
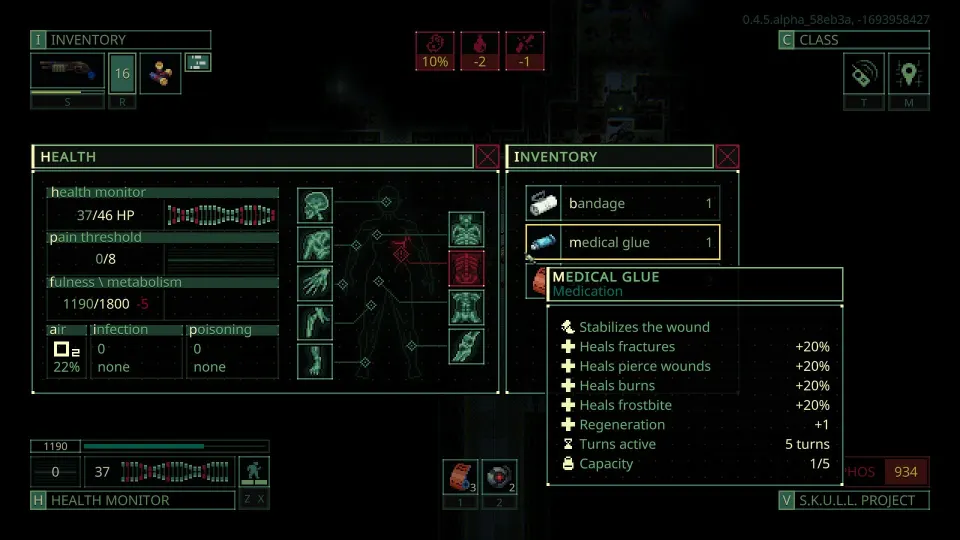
| Medicine | Keep bandages and strong healing accessible | Burying treatment beneath loot |
| Food and water | Pack for floors and planned movement | Assuming every station has supplies |
| Armor and weight | Preserve dodge with manageable weight | Overloading until mobility collapses |
Loot for future usefulness, not just immediate sale value. Chips, medical components, industrial tools, useful plates, faction goods, weapon parts, and armor parts all support upgrades, repairs, and trading.
Make loot piles near elevators or extraction routes instead of carrying every item through the station. This protects dodge chance and lets you choose the best haul when leaving. Put valuable, low-weight items into an evacuation capsule first when available; common scrap rarely justifies risking your survival supplies.
Disassemble surplus only when it supports a plan. Weapons, ammunition, armor, clothing, and mechanical remains can become useful materials. Do not break down your only functional gun or ammunition reserve, but convert excess gear into repair and crafting inputs.
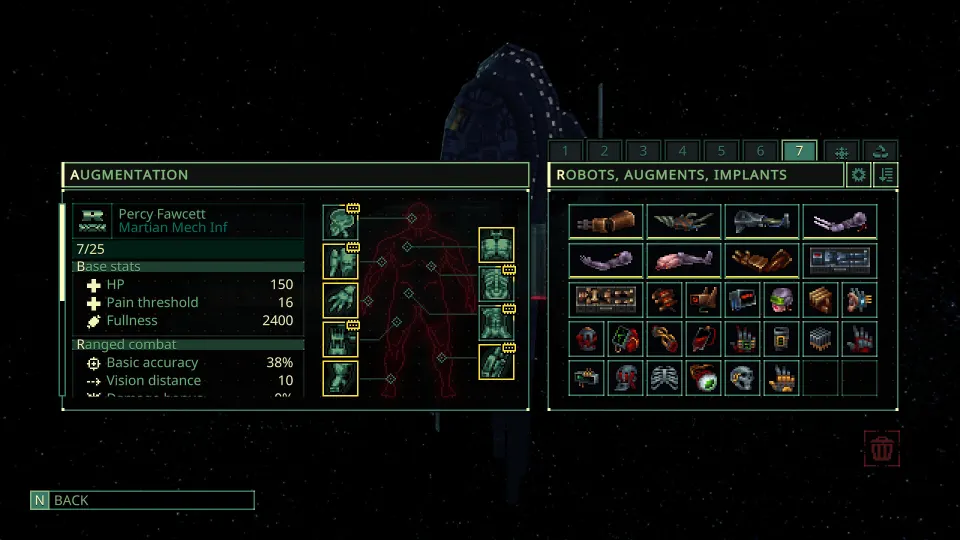
Turn Resources Into Permanent Power
The campaign becomes more stable when success no longer depends on finding a perfect floor. You have alternate clones, practical classes, production capacity, trade partners, and enough storage to recover from bad luck.
Ship upgrades are the foundation because they improve every later contract. Production reduces supply shortages, added crafting capacity shortens downtime, and scanning helps preparation. Shuttle storage and evacuation capacity are especially valuable because they protect important items during a mission.
| Permanent investment | What it solves | Priority |
|---|---|---|
| Conveyor and supply production | Basic medicine and survival shortages | Early |
| More production capacity | Slow crafting queues | When supplies become routine |
| Shuttle storage | Protects emergency gear and loot | High priority |
| Evacuation capacity | Secures bulky components | When major upgrades appear |
| Cloning and research | Expands builds and operator options | After basic survival is stable |
Unlocking classes and clones is another major power increase. Chips remain valuable even after an unlock because they can be traded or used in later improvements. Pair traits with your actual combat style: weapon range supports ranged builds, extra item capacity suits loot-focused runs, and explosive bonuses reward grenade use.
Tunnel Rats are useful for rebuilding an economy through extra loot, shotgun support, wound stabilization, and shelter benefits. Scouts of Hades work well with range-focused clones. There is no single mandatory build; synergy and reliable ammunition matter more than chasing a supposedly perfect class.
Trade with a goal. Inspect what each faction wants and convert surplus into the storage gear, components, or chips you lack. Larger backpacks and multi-slot vests are major upgrades because capacity directly increases the value of every successful extraction.
Watch corporate growth as well. A faction that becomes too strong can make future missions outpace your equipment. You do not need to fight every rival, but occasional contracts against a runaway corporation can keep the system manageable.
FAQ
What is the fastest quasimorph progression guide strategy?
The fastest safe approach is repeated low-risk extraction: finish nearby contracts, take compact valuable loot, trade toward storage and supplies, then invest in ship upgrades. High-tech enemies and risky story jobs can erase that progress if attempted too early.
Should I use my best equipment early?
Usually not. Start with equipment you can replace while learning enemy ranges, floor layouts, and supply consumption. Bring premium gear when a mission has a clear payoff or a weak kit is likely to cause repeated deaths.
Why am I always out of medicine and food?
You may be exploring after completing the objective, packing too little for the floor count, or using fast movement unnecessarily. Produce basic supplies when possible, scout with stealth, and extract when health, calories, or ammunition remove your safety margin.
Which items should I prioritize for extraction?
Prioritize chips, medical components, industrial tools, rare armor materials, useful faction goods, and parts needed for repairs or upgrades. Leave heavy common weapons and low-value scrap behind unless you have secure capacity.
When should I leave without clearing a mission?
Leave once the objective is complete if healing, ammunition, food, or positioning has become unsafe. A smaller haul secured today is progression; dying for one more room usually is not.