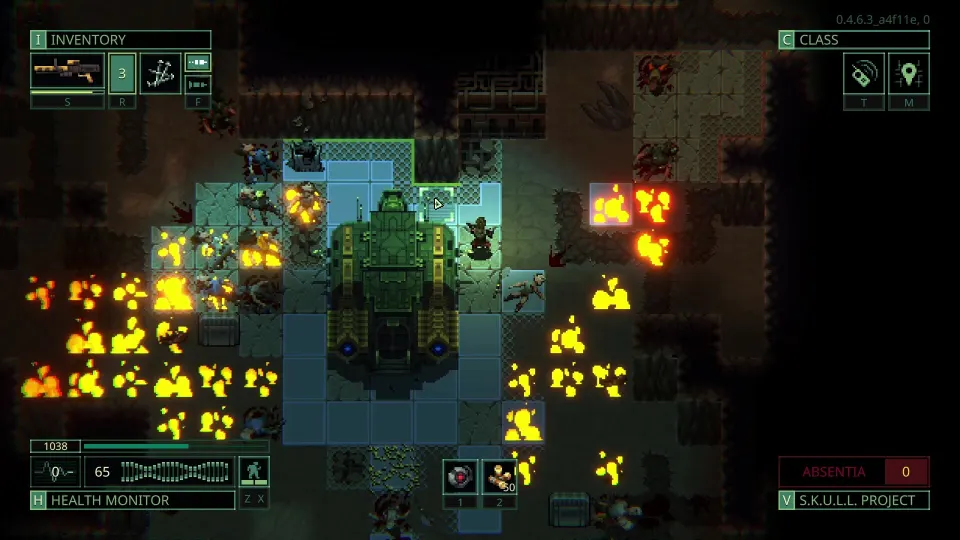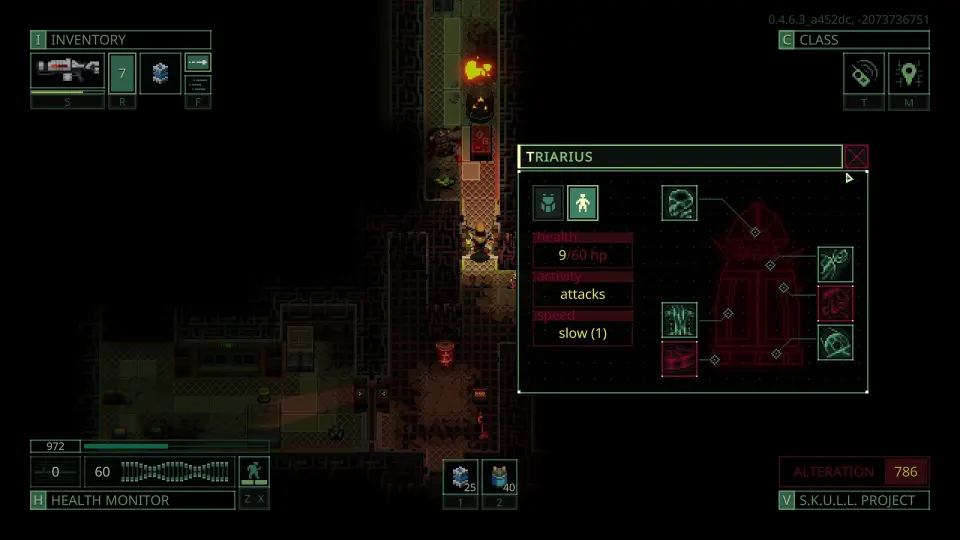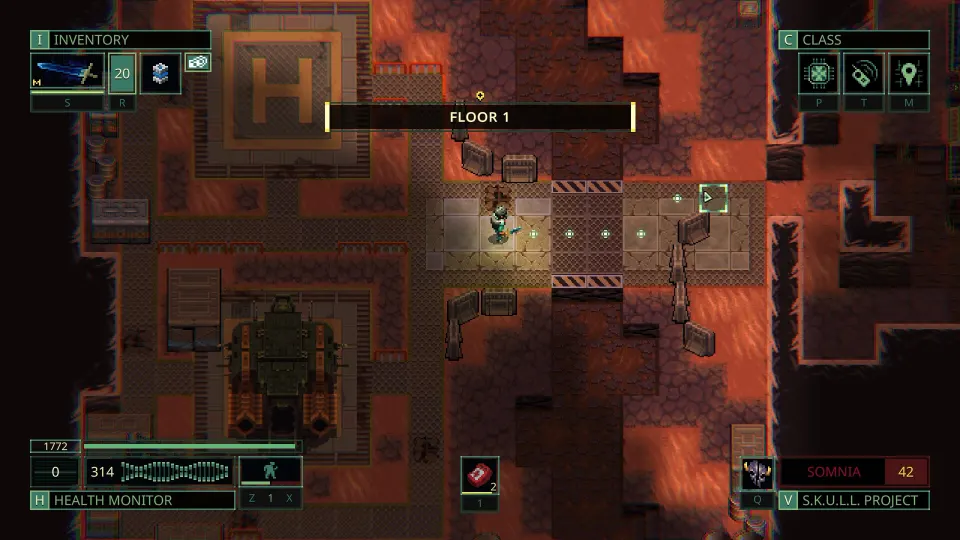
Build a Repeatable Survival Loop
Quasimorph punishes rushed turns, overloaded backpacks, and unplanned door openings. The safest path forward is not perfect combat; it is completing contracts often enough to keep the Magnum stocked with supplies, upgrades, and replacement gear.
Treat each deployment as a loop: choose a job you understand, pack for its length, finish the objective, and extract before bad luck removes your margin. A successful mission is one that brings resources home, not necessarily one where every room is empty.
After the tutorial, unload the operator before choosing another contract. Return weapons, ammunition, medicine, and components to Magnum cargo so your next loadout is easy to plan. Ammo left inside a stored weapon does nothing for the operator you send next.
Stay near your starting area early on. A long trip should solve a specific problem: a chosen story step, a missing ship component, or several useful contracts in one region. Do not cross the system for an ordinary reward that nearby work can replace.
Use this pre-deployment checklist:
- Read the objective, floor count, travel time, and contract expiration.
- Check the attacking faction and the facility owner.
- Match the operator and class to the weapon you intend to use.
- Pack ammunition, food, water, bandages, and healing items.
- Leave unique gear aboard unless the reward justifies risking it.
- Set an extraction trigger, such as low health, low ammo, or rising Quasimorphosis.
| Before accepting | Why it matters | Safer choice |
|---|---|---|
| Objective type | Determines whether you must kill, defend, steal, or destroy | Take jobs with clear completion conditions |
| Floor count | Predicts supply use | Favor shorter contracts while learning |
| Travel time | Can cause a contract to expire | Prioritize nearby work |
| Enemy faction | Suggests weapons, armor, and threats | Inspect likely damage types |
| Reward and credit | Credit belongs to one faction | Choose rewards that solve shortages |
Ship progression matters more than political perfection. Prioritize projects that make ordinary supplies easier to replace. If your starting cargo supports it, an early Conveyor is valuable because basic production makes failed runs less expensive.
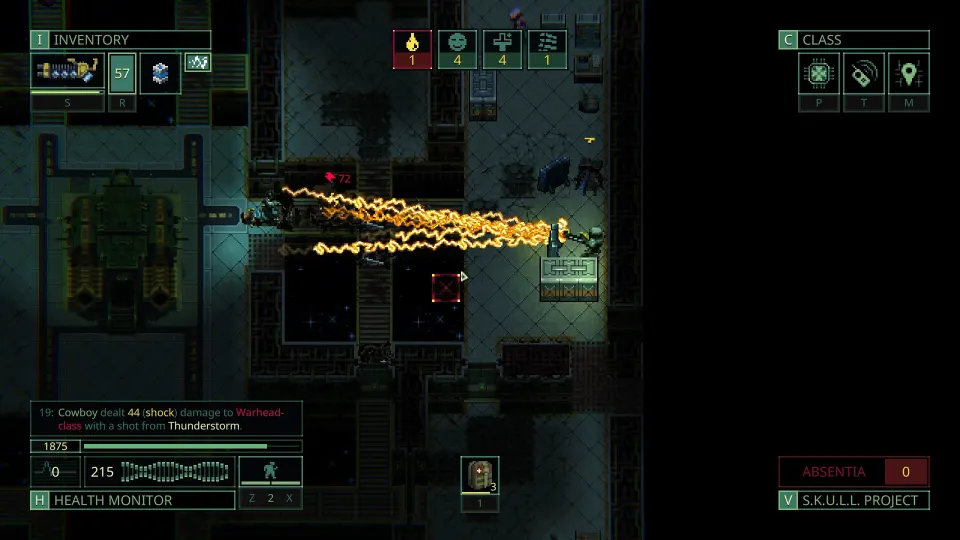
Fight Slowly and Control the Doorway
Most deaths happen because enemies receive an easy first shot. Move carefully, inspect threats, and make opponents enter spaces where you already have cover and a weapon ready.
Never open an unknown door with your final Action Point. If an enemy waits behind it, you lose the ability to shoot, retreat, or reposition before their turn. Approach doors with enough actions remaining to react after opening them.
Stealth, normal movement, and running each have distinct roles. Stealth helps reveal nearby hidden enemies around walls and doors before you commit. Normal movement is the reliable combat choice because it allows practical combinations of shooting, moving, and interacting. Running provides extra mobility but lowers accuracy and limits interactions, making it best for escapes, repositioning, or builds designed around it.
| Situation | Best approach | Main risk to avoid |
|---|---|---|
| Unknown room ahead | Use stealth nearby, then open with actions left | Opening on the final action |
| Corridor enemy | Pull back behind cover or a doorway | Trading shots in the open |
| Close attacker advancing | Retreat and force a doorway fight | Letting several enemies crowd you |
| Long-range fight | Remain inside weapon range | Shooting beyond listed range |
| Emergency retreat | Run toward known cover | Entering unexplored rooms |
Inspect enemies before committing to a fight. Their speed, resistances, and weapon type matter more than a general difficulty indicator. A heavily armored target may ignore the wrong damage type, while a fast opponent with a dangerous gun may need immediate attention.
Pulling enemies is usually safer than pushing into their rooms. Stand diagonally behind doors when possible, use corners to break line of sight, and retreat after firing. That often makes enemies approach one at a time instead of letting a whole room shoot together.
Treat hazards seriously. Remove fuel and poison from containers before a firefight when possible. A stray bullet hitting a fuel barrel can turn a manageable fight into a disaster. Explosives can open doors from a safer distance, but use them carefully around loot and confined spaces.
Pack for the Contract, Not for a Fantasy Run
Inventory management is a combat skill. Weight reduces dodge, damaged containers can lose stored items, and unnecessary ammunition or junk makes your operator less capable.
Bring a primary weapon suited to the expected engagement distance, plus a backup for the range where it performs poorly. A long-range firearm can stop enemies before they attack, while a shotgun or other close-range weapon can protect a doorway when opponents close in.
Do not deploy nearly naked because you fear losing equipment. A reasonable kit often saves more resources than a cheap loadout that dies repeatedly. You do not need your rarest gear for every mission, but you do need enough reliable gear to finish safely.
| Supply | Practical guideline | Reason |
|---|---|---|
| Medical items | Keep bandages and several strong healing items accessible | Bleeding and wounds can end a run |
| Ammunition | Carry expected use plus a modest reserve | Excess weight lowers dodge |
| Food and water | Scale supplies to floors and route | Starvation can be fatal |
| Backpack | Balance capacity against penalties | More loot is worthless if you die |
| Extraction capsule | Store compact, high-value items first | Protects important loot |
Loot with a purpose. Ship components, containers, faction goods, medical materials, valuable chips, and rare armor resources deserve space. Common scrap, unusable weapons, and ammo for guns you are not carrying often do not.
For a major haul, separate fighting from extraction. Stage valuable loot near an elevator, secure the floor, then return with a larger backpack before leaving. This is safer than carrying a heavy cargo load through every unexplored room.
Watch vest and backpack durability. A failing container can begin dropping items, and discovering that after changing floors is painful. If irreplaceable cargo is inside a damaged backpack, extract sooner.
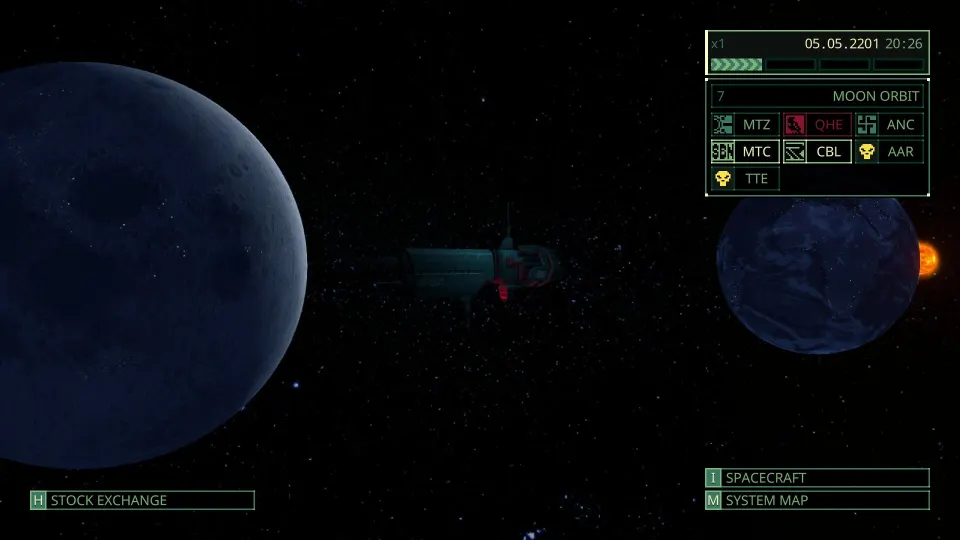
Choose Factions and Missions Deliberately
Contracts affect more than the immediate haul. Each has a beneficiary and a station owner, and you can often change sides before accepting. Supporting a faction builds access to its credit and goods, while attacking it can damage a trade relationship you wanted.
Choose one or two factions to support consistently instead of spreading effort across everyone. The best allies are the factions whose production and technology match your upgrade needs. Check station information to identify who controls facilities associated with the components you need.
Faction credit is not universal cash. It belongs to the faction that issued it. If your relationship falls below zero, trade access can break and unused credit may be lost, so avoid treating every faction as equally disposable.
| Contract type | Typical goal | Beginner consideration |
|---|---|---|
| Conquest | Clear enough occupants to claim an asset | Offers normal looting and controlled fights |
| Elimination | Kill a high-value target | Prepare for a dangerous final floor |
| Espionage | Retrieve an item and extract | Leave once the target is secured |
| Sabotage | Destroy specified equipment | Know the target before overexploring |
| Defense | Hold out against attackers | Harder to predict and prepare for |
Red skulls are only part of the danger. Enemy technology, power concentration, floor count, gear quality, and Quasimorphosis can make a low-skull contract lethal. Read the briefing and prepare for actual threats instead of trusting one icon.
Quasimorphosis adds pressure where it is active. Bring a way to manage it, and do not assume a long loot sweep remains safe because the first floor was quiet. In areas without it, use the extra time to practice careful movement and build supplies.
FAQ
What are the most important Quasimorph tips for beginners?
Move slowly, avoid opening doors on your last Action Point, inspect enemies, bring medical supplies, and extract after completing the objective. Reliable survival creates more progress than risky full-map looting.
Should I use my best gear early?
Use equipment that gives you a real chance to finish, but avoid risking unique or irreplaceable items on low-value contracts. Under-equipping can be equally expensive when it causes repeated deaths.
Which movement stance should I use?
Use stealth near unknown doors or walls, normal movement for most combat, and running for retreats or deliberate repositioning. Running is useful, but its accuracy penalty and interaction limits make it a poor default.
Is every item worth looting?
No. Prioritize components, containers, medical materials, chips, rare goods, and items needed for current upgrades. Heavy common junk can reduce dodge and make extraction less likely.
Are defense missions good for new players?
They can be dangerous early because enemy pressure is harder to predict and map loot may be limited. Conquest, elimination, espionage, and sabotage contracts usually teach exploration and extraction more effectively.