Why Play Victoria?
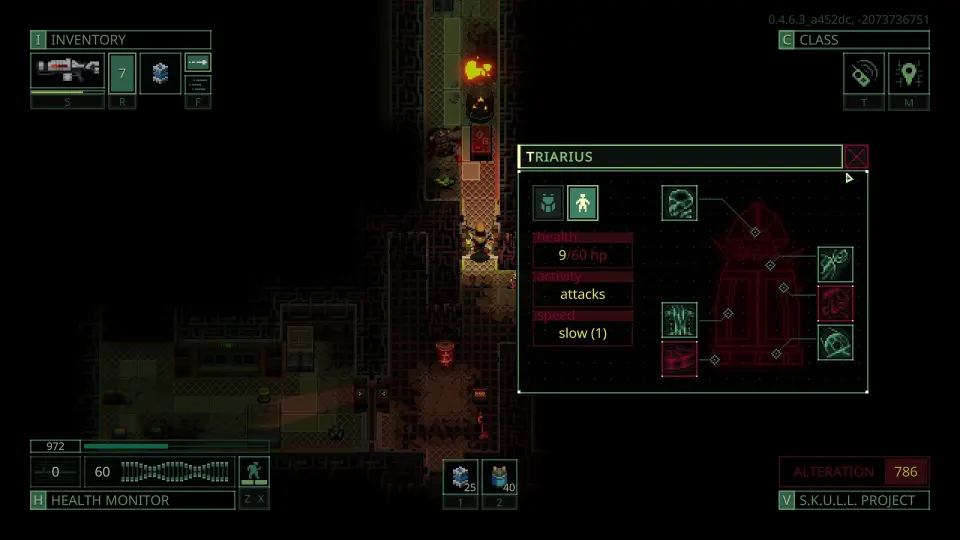
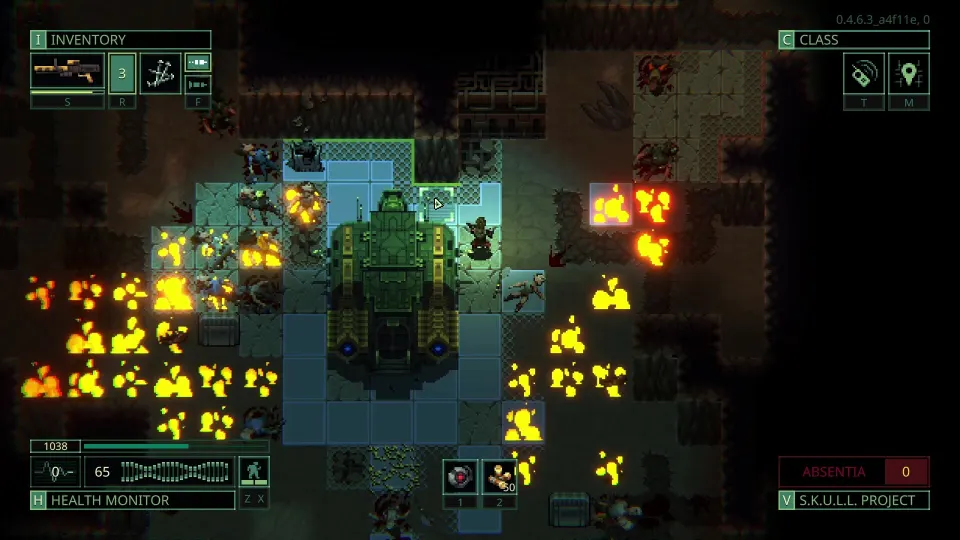
Victoria Bodicka of the Angels of Spades is a strong choice when you want to stop treating ammunition as a limited emergency resource and start winning fights with decisive, high-impact shots. Her heavy-ammo focus supports an aggressive endgame setup without forcing you into dangerous melee range.
This build is best for players who have already established reliable supplies, implants, and weapon access. In the opening hours, defensive and scavenging-oriented clones usually offer more consistency. Victoria becomes more rewarding once you can afford to customize a clone around weapon accuracy, evasion, and ammunition consumption.
The central idea is simple: use powerful weapons and specialized ammunition to end encounters before enemies can surround you. Unlike a melee clone, Victoria can control space, fire through threatening lanes, and stay mobile when a room becomes unsafe.
| Build strength | Why it matters | Practical result |
|---|---|---|
| Heavy ammunition focus | High-damage shots can overwhelm armored targets | Fewer turns spent trading damage |
| Ranged flexibility | You can engage before enemies reach melee range | Safer clears in open rooms and corridors |
| Endgame scaling | Implants and trained perks improve weapon handling | Better performance as your arsenal grows |
| Ammunition variety | Different damage types answer different resistances | Less dependence on one “perfect” gun |
Victoria is not a universal answer to every mission. Heavy weapons can be cumbersome, ammunition may be scarce, and poor positioning still gets a clone killed. The build works because it combines damage with discipline, not because it removes the need to read enemy locations and terrain.
Core Perks and Clone Setup
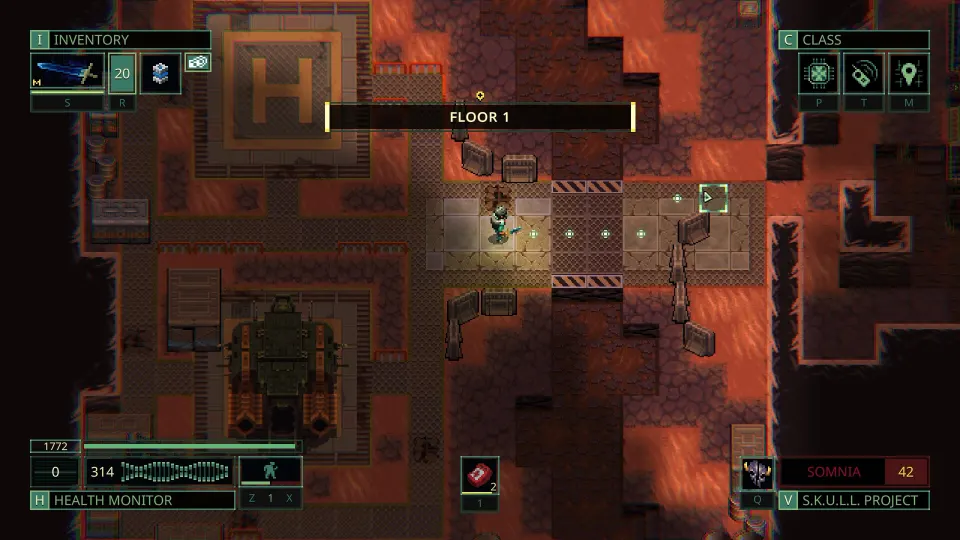
A good quasimorph victoria build begins with her heavy-ammunition identity, then fills its gaps with broadly useful combat perks. Prioritize effects that preserve accuracy, improve your action economy, and help you survive when a fight becomes prolonged.
Early in a campaign, generic defensive perks are often more valuable than chasing a purely offensive setup. Evasion, physical and elemental resistance, and loot support help you build the inventory needed for Victoria’s later power spike. You can shift into a more specialized loadout once your clone has enough training and equipment to support it.
| Priority | Perk or trait focus | What it contributes |
|---|---|---|
| High | Heavy-ammo specialization | Maximizes the benefit of Victoria’s intended weapon class |
| High | Combat reflexes and evasion | Reduces the risk of being overwhelmed after firing |
| High | Accuracy support | Makes expensive ammunition count |
| Medium | Training or calorie efficiency | Lowers the logistical cost of longer operations |
| Medium | Cyborg compatibility | Helps if your preferred setup relies on implants |
| Situational | Loot-focused perks | Useful while still collecting weapons and materials |
The exact perk names and available choices can vary with progression, but the role remains the same: Victoria wants reliable hits before she wants flashy damage bonuses. Missing a powerful shot is worse than firing a weaker round accurately.
Avoid putting every resource into a single “final” clone too early. A practical roster can use training clones while your main Victoria clone receives upgrades gradually. This leaves room to experiment with weapons rather than feeling locked into one expensive build.
A useful transition path is:
- Start with defensive and scavenging perks while your equipment is limited.
- Build accuracy and movement support as you acquire stronger firearms.
- Add heavy-ammo upgrades once you can replenish ammunition consistently.
- Shift toward damage-oriented choices only after survivability feels stable.
- Keep a backup weapon category available for maps where your heavy gun is awkward.
Weapons, Ammunition, and Loadout Choices
Victoria benefits most from weapons that convert heavy ammunition into immediate battlefield control. The right gun depends on availability, range, reload demands, and the resistance profile of the enemies on your contract.
Do not judge a weapon only by its listed damage. Ammunition damage type, armor interaction, critical potential, and the number of enemies in a firing lane can matter just as much. A weapon that is merely adequate against one target may become exceptional when it can damage several enemies lined up in a corridor.
| Loadout slot | Recommended role | Selection advice |
|---|---|---|
| Primary firearm | Heavy-ammo damage dealer | Choose a weapon with dependable range and manageable reloads |
| Secondary firearm | Close-range backup | Carry a compact gun for sudden threats or low-risk targets |
| Utility weapon | Emergency option | A melee weapon or spare sidearm protects you during bad reload timing |
| Ammunition reserve | Resistance coverage | Bring more than one damage type when possible |
| Armor and implants | Accuracy and survival | Favor protection that does not undermine mobility excessively |
Use ammunition deliberately. Some rounds are better at causing wounds, some can offer unusual elemental damage, and others are designed for raw stopping power. If a target is resisting your preferred ammunition, changing damage type can be more effective than simply firing more rounds.
Suppressors and laser sights can be especially valuable on compatible secondary weapons. A quiet, accurate backup firearm gives Victoria a way to handle isolated enemies without spending premium ammunition. It also provides insurance if your main weapon has poor handling in tight rooms.
Keep your loadout weight under control. Heavy equipment can compromise evasion, mobility, and the ability to reposition after shooting. If carrying a second large gun prevents you from escaping danger, it is not truly adding safety.
Combat Plan and Positioning
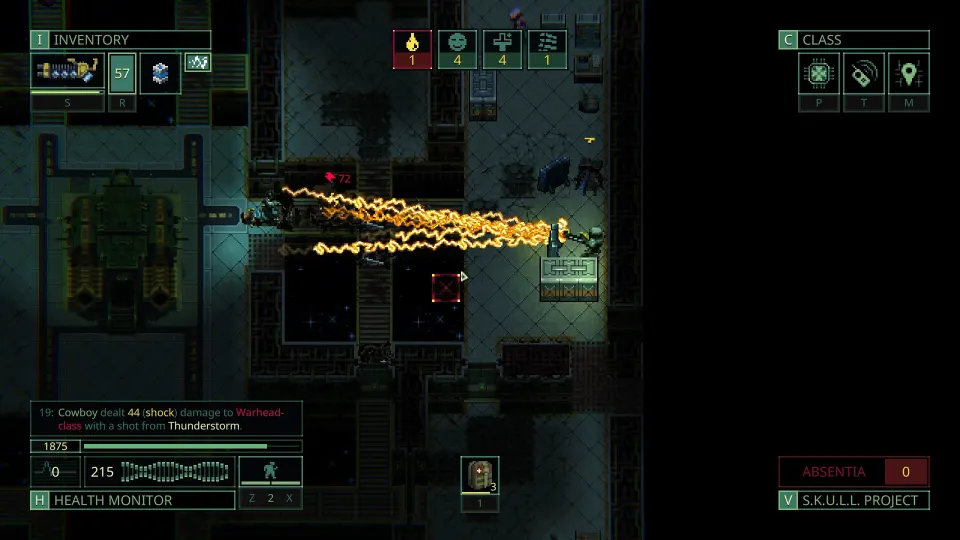
Victoria performs best when she enters a fight with information and leaves herself an exit. Heavy ammunition rewards careful target selection: eliminate the enemy most likely to limit your movement, then reposition before the remaining opponents can close in.
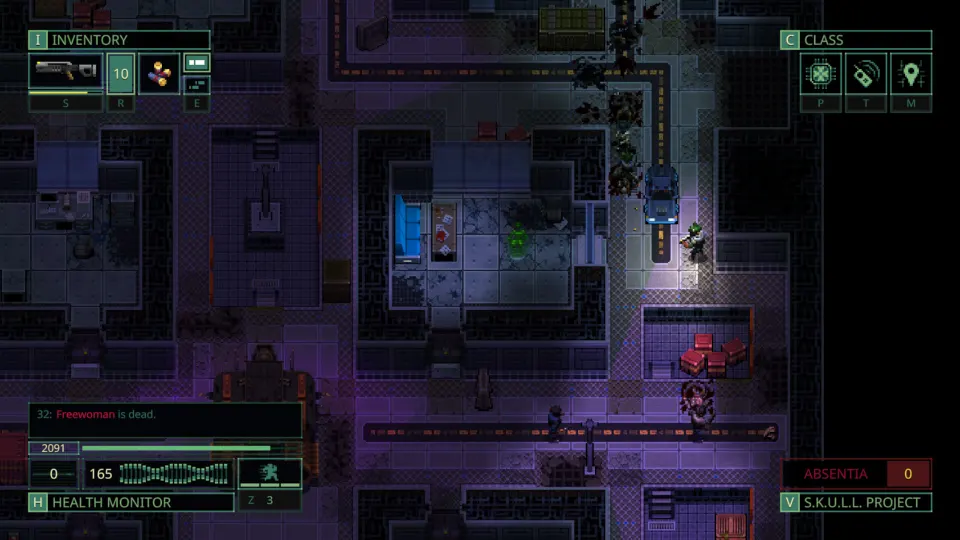
Use stealth, doors, corners, and pillars to keep fights narrow. A doorway can turn a chaotic room into a single-file engagement, while a pillar can break line of sight long enough to reload or change stance. Your goal is to force enemies into predictable paths rather than exchanging fire in the open.
| Situation | Best response | Mistake to avoid |
|---|---|---|
| Enemies are grouped in a corridor | Fire down the lane and exploit penetration when available | Advancing into their firing range unnecessarily |
| A room contains multiple threats | Peek, identify priority targets, then retreat to cover | Opening the door and staying exposed |
| Your primary weapon needs reloading | Break line of sight or switch to the backup gun | Reloading beside an active enemy |
| An enemy resists your ammo type | Swap ammunition or weapon damage type | Repeating ineffective shots |
| You are losing space | Run toward cover and create a choke point | Holding position until surrounded |
Run movement can be a major defensive tool. More movement options let you create distance, reach cover, or move in to finish a vulnerable enemy before retreating. Even a ranged clone needs mobility because enemies can appear from side rooms or break into close quarters unexpectedly.
When clearing a room, avoid the temptation to loot immediately. First, confirm that no enemy can approach from an unseen angle. Then reload, check your ammunition reserve, and decide whether the next room requires a different weapon or round type.
Victoria’s damage lets you play aggressively, but aggression should mean taking favorable fights quickly. It should not mean standing in the center of a room after announcing your position with a powerful shot.
FAQ
Is the quasimorph victoria build good for beginners?
It can work for beginners, but it is more comfortable after you understand ammunition types, enemy resistances, and cover usage. Early defensive clones may be easier while you are still learning resource management.
What should Victoria carry as a backup weapon?
Carry a lighter firearm with reliable handling and ammunition you can replace easily. A close-range option is helpful when a reload, ambush, or cramped map makes the primary weapon impractical.
Should I use only heavy ammunition?
No. Heavy ammunition should be the build’s main damage plan, not its only answer. Keep alternate damage types or a secondary weapon for resistant enemies and emergencies.
How do I make Victoria safer in close quarters?
Use doors, corners, and pillars to prevent enemies from attacking from multiple directions. Retreat before reloading, preserve movement options, and avoid carrying so much weight that evasion becomes unreliable.