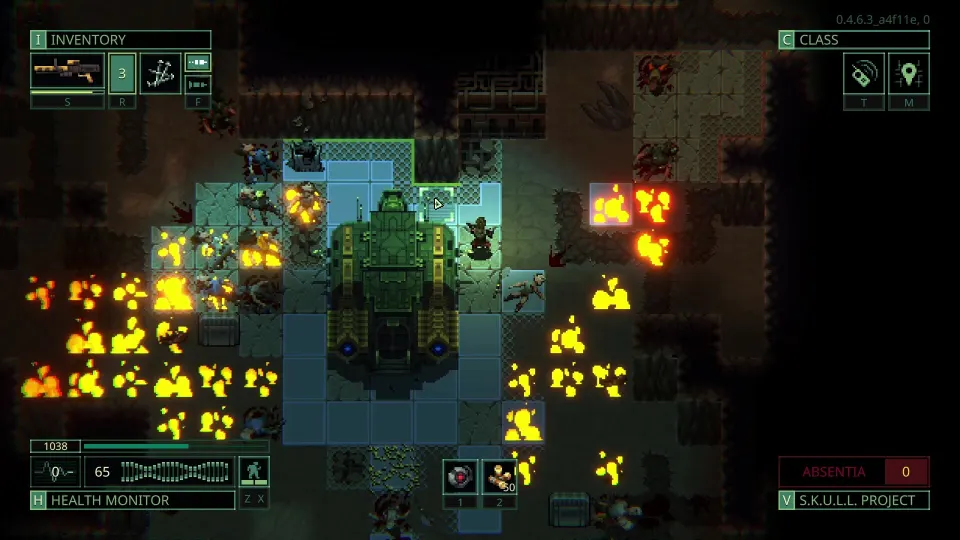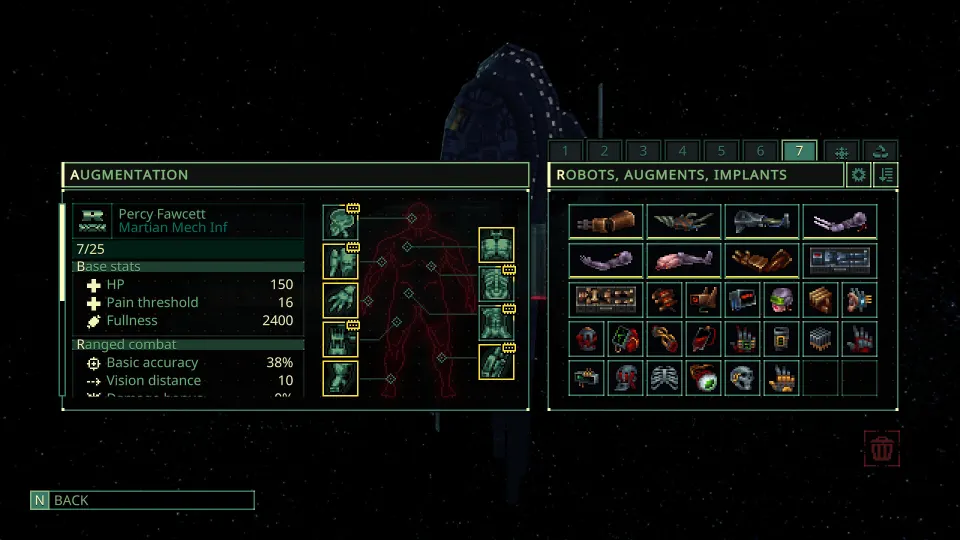
Start With a Repeatable Extraction Loop
Quasimorph is punishing because a handful of small decisions can erase a strong operator and an expensive kit. The fastest way to improve is to stop treating each mission as a desperate gamble and build a loop you can repeat: prepare, finish the objective, extract, and turn the haul into a better next run.
After the tutorial, unload useful equipment into the Magnum before choosing a contract. Check weapons for ammunition left in their magazines, then move that ammo into cargo if another operator needs it more. This makes loadout planning clearer and prevents supplies from being stranded on a mercenary you are not deploying.
Your early goal is not to clear every room or chase every story marker. Build enough supplies and ship capability that a failed mission does not end your campaign momentum.
| Before accepting | Why it matters | Good early rule |
|---|---|---|
| Route and expiry | Long travel can make an ordinary job expire | Prefer nearby contracts |
| Objective and floors | Determines time, supplies, and risk | Know exactly what completes the job |
| Operator condition | Injuries reduce your margin for mistakes | Restock or choose another operator |
| Weapon and ammo | A powerful gun is useless without compatible rounds | Bring a primary and enough reloads |
| Facility type | Locations influence likely containers and loot | Target sites related to your current upgrade need |
Install basic production when you have the needed components and it solves a real supply problem. A reliable source of ordinary medical or survival items is more valuable than scattering resources across every available ship node.
Use your first contracts to learn enemy gear, map layouts, and consumption rates. Take replaceable equipment while you are still discovering how much food, medicine, and ammunition a mission actually demands.
Prepare for the Mission You Actually Chose
Match the operator, class, weapon, and ammunition as one decision. Do not pick a favorite firearm first and force everything else around it. Consider the range you expect to fight at, the operator’s strengths, the likely armor or damage threats, and how much weight you can carry without crippling dodge.
A practical early loadout needs a purpose for every item:
- A primary weapon for your planned engagement range.
- A backup option for enemies that close distance or resist your main damage.
- Several medical items, including bleeding treatment.
- Food and water appropriate to the floor count.
- Only ammunition you are likely to fire, plus a modest reserve.
- Space and weight capacity for mission-critical loot.
| Loadout choice | Benefit | Common mistake |
|---|---|---|
| Light armor and manageable weight | Better mobility and dodge | Carrying armor so heavy that every threat gets more turns against you |
| Long-range firearm | Lets you control corridors | Fighting at ranges outside the weapon’s effective limit |
| Close-range backup | Handles doorway fights | Relying on one weapon for every distance |
| Multiple medical items | Keeps a bad exchange recoverable | Entering with only one bandage or kit |
| Smaller loot load | Preserves dodge and movement | Hauling low-value scrap until combat becomes unsafe |
Weight is not just an inventory inconvenience. More carried mass reduces dodge, and a damaged backpack or vest can turn a profitable run into a disaster. Pay attention to durability before it reaches zero, especially on equipment holding essential supplies or valuable loot.
Avoid saving every good item forever. Gear that stays in cargo while faction technology rises can become obsolete before it helps you. Bring an appropriate kit when survival depends on it; the point is to spend resources intelligently, not to lose lightly equipped operators repeatedly.
Win Fights by Controlling Turns and Space
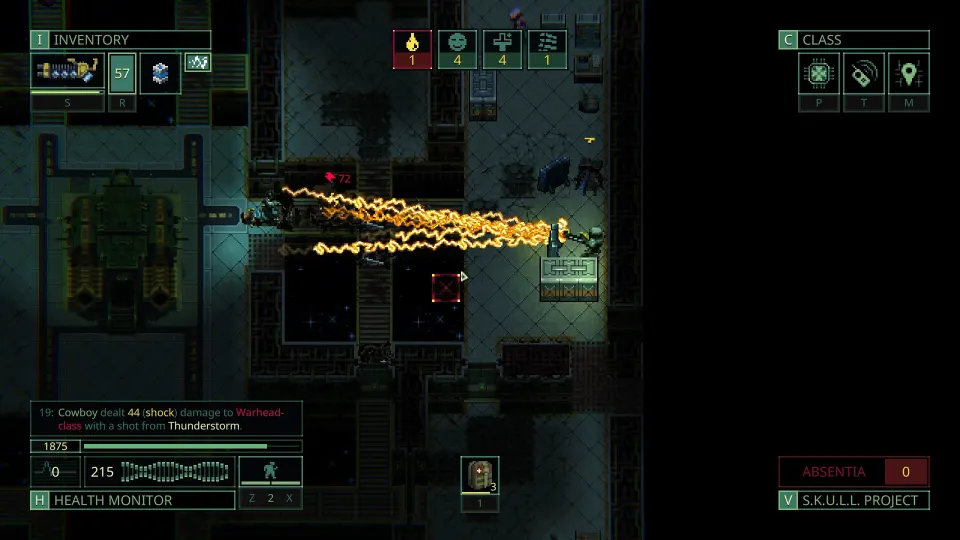
Most deaths begin before the first shot: opening a door with no actions left, walking into an unseen room, or chasing an enemy through an unfavorable corridor. Slow down around doors, corners, and openings. Preserve an action point so you can shoot, retreat, change position, or simply wait safely.
Use stealth for information, normal movement for routine travel, and running when you understand the route and need to reposition. Stealth can reveal danger near walls and doors; it is especially useful when you reach a doorway late in your turn.
| Situation | Safer response | Why it works |
|---|---|---|
| One action point at a closed door | Wait or switch to stealth | You avoid giving a hidden enemy the first uncontested turn |
| Enemy approaching a corner | Hold one tile back | It may spend its actions reaching you and arrive unable to attack |
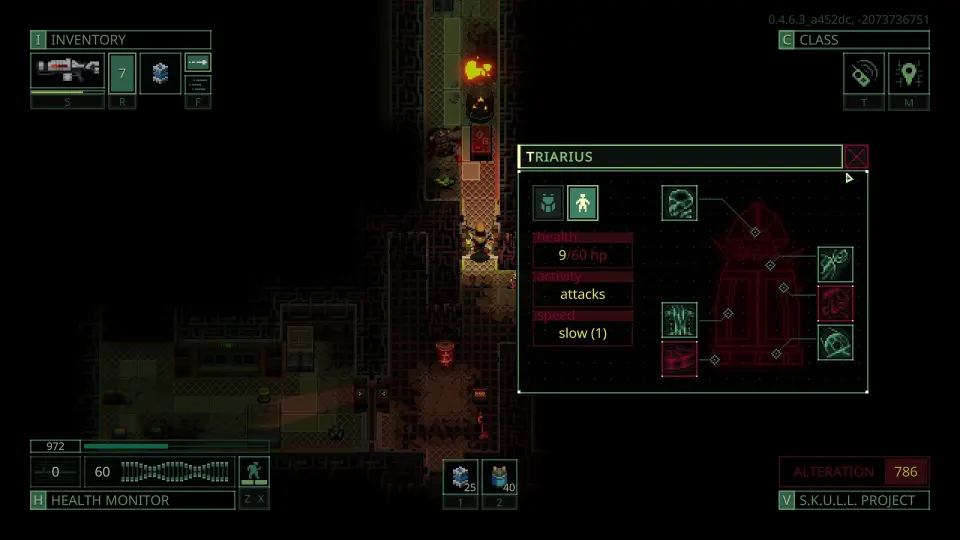
| Unknown enemy loadout | Examine before committing | Range, armor, damage type, and action points change the plan |
| Long hallway | Fight from your weapon’s effective range | Enemies must spend actions closing distance |
| Dangerous retreat path | Remove fuel from explosive barrels if possible | Reduces a surprise hazard during a fallback |
Corner and doorway control are central skills. Instead of entering a room, make enemies come through a narrow approach. A target with two actions may spend both moving into position, leaving you a close-range shot while it cannot answer immediately. Enemies with more actions or powerful ranged weapons require a different angle, so inspect them rather than assuming every ambush works.
Do not underestimate opponents because the contract display looks easy. Red skulls primarily reflect power concentration, not the full threat. Enemy faction technology, equipment, damage types, floor layout, and Quasimorphosis can make a nominally low-skull mission lethal.
Explosives, hazards, and cover can create opportunities, but they do not replace positioning. A grenade may interrupt an enemy’s attack or force movement, while improvised cover can buy a turn. Treat these as ways to regain control, not a reason to stand exposed.
Choose Contracts for Progress, Not Drama
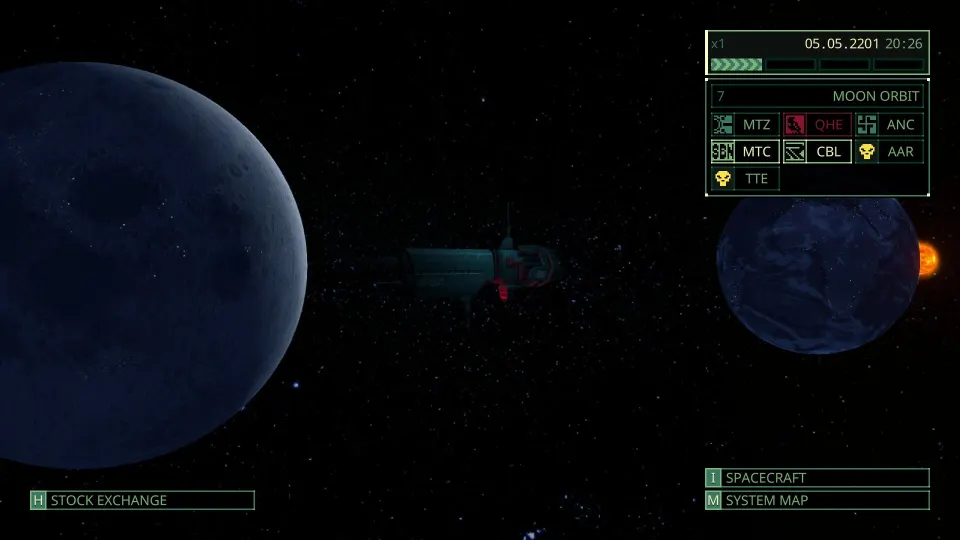
Contracts shape the system, but early on, your immediate needs should guide your choices. Factions offer different technology, stock, and long-term relationships. You can pursue a preferred storyline or alignment, but avoid spreading yourself so thin that you cannot track whose credit, technology, and equipment matter to your campaign.
The beneficiary launches the job, while the victim owns the attacked facility. You can often switch sides in the briefing. Supporting the owner can add friendly combatants, although friendly fire remains possible and their gear may become loot if they die.
| Contract factor | What to check | Practical takeaway |
|---|---|---|
| Faction technology | Enemy weapons and available rewards | High-tech factions are dangerous even on low skull counts |
| Power concentration | Enemy budget per floor | Compare it, but do not use it alone |
| Quasimorphosis | Extra threats and possible complications | Treat it as added risk until you can control it |
| Reward composition | Items versus faction-specific credit | Low rewards may produce little or no credit |
| Facility type | Containers, fabricators, and materials | Pick locations that can supply your current bottleneck |
Faction credit is not universal currency. It is tied to that faction’s stations and their available technology. If you turn a faction hostile after accumulating credit, a trade break can cost you that stored value. Do not accept every tempting job against a faction you are relying on for purchases.
If you need a particular upgrade component, search for contracts at locations likely to produce it rather than hoping random missions deliver it. The commodities information can also help identify where goods are produced and who controls those sites.
Mission objectives should determine how deeply you explore. Espionage, sabotage, elimination, conquest, and defense demand different resources and routes. Read the objective before launching, then plan the shortest safe path to completion. Optional looting happens only while your health, ammunition, food, and Quasimorphosis margin remain comfortable.
FAQ
What are the most important quasimorph 1.0 tips for beginners?
Preserve action points at doors and corners, inspect enemies before fighting, bring sufficient medical supplies, avoid excess weight, and extract once the objective is done. Those habits prevent more losses than any single weapon upgrade.
Should I loot every floor before extracting?
Usually, no. Prioritize ship upgrades, containers, rare components, valuable faction goods, and items you specifically need. Heavy common scrap, unused ammunition, and low-value weapons are rarely worth the extra danger or lost dodge.
Why did an easy contract kill my operator?
The skull rating does not capture everything. A high-tech faction, unfavorable damage resistance, dangerous enemy weapons, difficult terrain, or Quasimorphosis can make a one-skull job far tougher than expected.
Is it better to wear heavy armor or stay light?
Use the protection that lets you survive the threats you expect without sacrificing too much dodge and mobility. Early in a campaign, lighter equipment with careful positioning is often safer than becoming overloaded.
When should I leave a mission?
Leave when the objective is complete and your safety margin is shrinking: low health, dwindling medicine or ammunition, hunger, excessive weight, damaged carrying gear, or escalating Quasimorphosis are all strong reasons to extract.