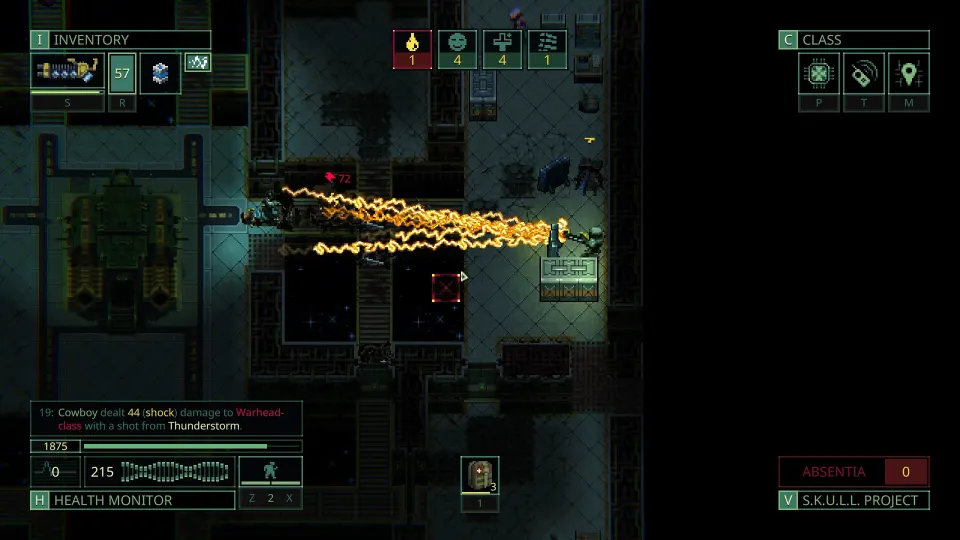
Start With Survival, Not Perfect Runs
Quasimorph rewards mercenaries who leave alive more than those who clear every room. A successful early contract gives you equipment, materials, and ship progress; a failed one can erase the clone and everything it carried.
Treat each deployment as a planned extraction operation. Your first objective is to complete the contract, return to the elevator, and unload useful gear onto the Magnum. Optional looting only matters while you still have enough health, ammunition, food, medicine, and time to leave safely.
| Early priority | Why it matters | Practical choice |
|---|---|---|
| Finish the tutorial | It teaches the basic combat and interface loop while providing usable equipment. | Reload, check objectives, and protect medical supplies even here. |
| Unload the operator | Keeps ammunition, weapons, and medicine visible in Magnum cargo. | Empty the clone before selecting the next contract. |
| Build basic supply capacity | Reduces dependence on random floor loot. | Install a Conveyor when your opening cargo supports it. |
| Run local contracts | Limits travel risk while your inventory is thin. | Favor nearby, low-difficulty missions. |
| Extract early | Converts a modest win into lasting progress. | Leave once the objective is done and your safety margin is shrinking. |
Do not assume the first available job is the right job. Check its difficulty, number of floors, objective, travel time, faction involvement, and whether your current loadout can realistically finish it.
A strong early habit is to preserve equipment that cannot be replaced. Bring reliable but expendable gear until you understand how quickly a mission drains ammunition and medicine. A powerful weapon is useful only if losing it will not stall your campaign.
Choose Contracts and Loadouts Deliberately
Contracts affect the wider conflict between factions, but they are also practical supply runs. Supporting a faction can improve the rewards and opportunities available to you, so early on it is easier to focus on one or two groups rather than trying to help everyone.
Mission type changes the objective and the risk profile. Read the condition before boarding; a low reward is often acceptable if it gives you a safe chance to gather supplies and experience.
| Mission type | Typical objective | Main strategic concern |
|---|---|---|
| Conquest | Eliminate enough occupants across floors. | Clearing rooms safely without overextending. |
| Defend | Hold out and remove remaining enemies. | Positioning and protecting the target during a prolonged fight. |
| Elimination | Kill a dangerous target on the highest floor. | Saving resources for the final encounter. |
| Espionage | Retrieve an objective item and extract. | Finding the target, then leaving instead of looting endlessly. |
| Sabotage | Destroy designated equipment on the highest floor. | Reaching the objective with enough ammunition and healing left. |
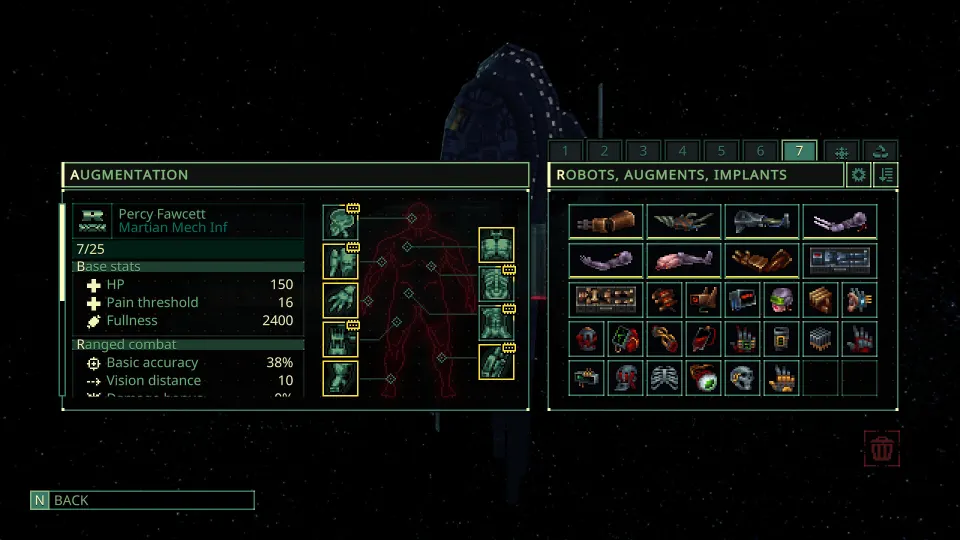
Before launching, connect the operator, class, weapon, ammunition, and consumables as one decision. Do not select a favorite gun independently of the mercenary using it. Operator talents and class perks can make a loadout much safer, especially when they support dodge, healing, robotics, melee, or a particular firearm style.
Pack for the mission’s actual length:
- Bring a primary weapon with enough compatible ammunition for more than the expected fights.
- Carry a melee option for close threats or ammunition emergencies.
- Take several medkits or equivalent treatment supplies, plus bandages and splints when available.
- Bring food and water for multi-floor deployments.
- Include a Quasimorphosis countermeasure when the destination can trigger it.
- Leave rare extras on the Magnum if they do not solve a known problem.
Early contracts near Mars and its moons can be easier to manage because they reduce the pressure of Quasimorphosis. Once you travel into affected areas, check the location status and carry a way to lower the meter. Some harmful or addictive consumables can suppress Quasimorphosis, but their side effects should be planned for rather than ignored.
Win Fights With Positioning and Stance Control
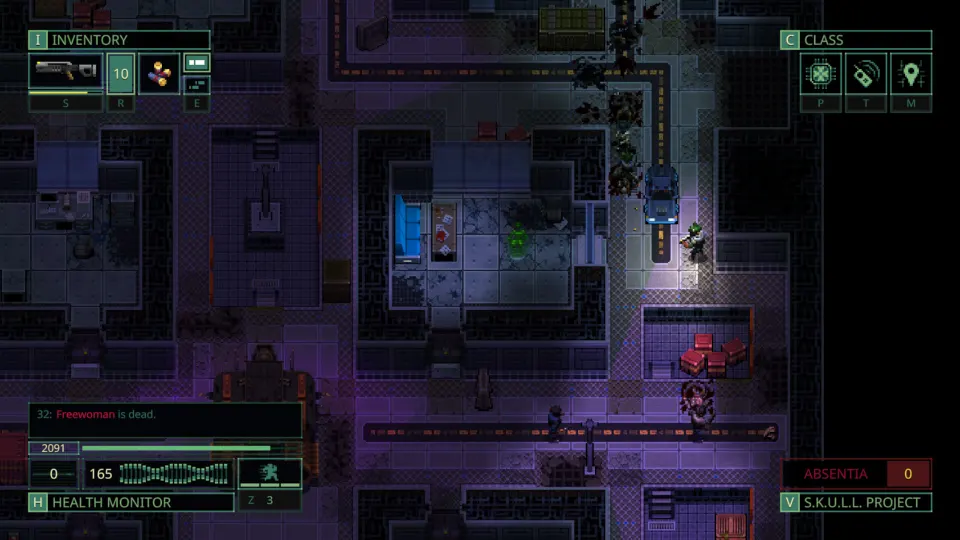
Most sudden deaths begin with an information mistake: opening an unknown door with no action points left, rounding a corner without cover, or sprinting into a room full of enemies. Quasimorph is turn-based, so use that time to make each engagement uneven.
Never open an unknown door on your final action point if you can avoid it. Open it while you still have enough actions to fire, retreat, or break line of sight. If you arrive at a door with no safe action left, wait behind it rather than gambling on the next enemy turn.
| Situation | Safer response | Reason |
|---|---|---|
| Closed door or blind corner | Switch to Stealth, wait if needed, then open with actions remaining. | Reveals or hints at nearby threats before a full breach. |
| Long corridor | Use corners and walls, exposing only briefly to shoot. | Limits the enemy’s firing opportunities. |
| Enemy at close range | Use a dependable close-range weapon or retreat through a doorway. | Prevents being trapped in open ground. |
| Several enemies advancing | Fall back to cover and force them through a narrow approach. | Reduces how many can attack at once. |
| Explosive barrel near your route | Remove its fuel or avoid fighting beside it. | Prevents a retreat path from becoming lethal. |
| New floor | Reload and assess before moving far from the elevator. | Keeps extraction and recovery options available. |
Use movement modes with purpose. Walk is the normal combat stance. Stealth is excellent when approaching a door or listening for enemies behind a wall. Run can provide an extra action, letting you fire from a doorway and retreat, but it should not become a habit that carries you into unknown rooms.
Cover matters even when it is small. Door frames, half-walls, and sturdy non-explosive objects can help control angles and reduce the chance of knockback ruining your position. Shotguns are especially valuable in tight spaces because they can deal strong close damage and create separation.
Prioritize dangerous enemies before ordinary targets. Snipers, energy or plasma weapons, flamethrower users, fast attackers, and ranged Quasimorphs can turn a stable fight into a crisis. Damage avoided is usually worth more than one extra container of loot.
Extract Smart and Build Momentum
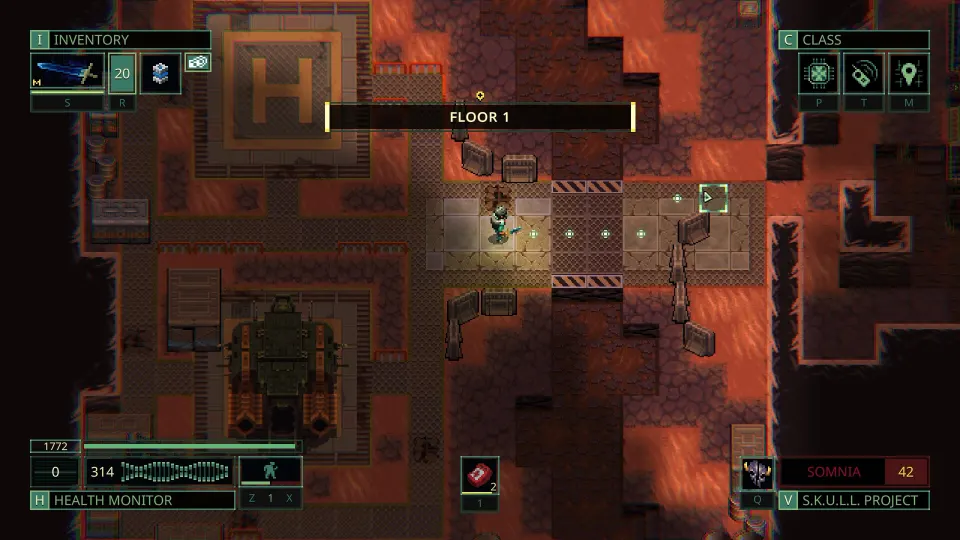
The Magnum is your campaign’s safety net. Ship upgrades, crafted supplies, storage, and faction rewards make the next deployment less dependent on luck. Early progression is not about acquiring every item; it is about removing the bottleneck that caused your last difficult mission.
Loot selectively. Containers and ship-upgrade components are often more valuable than a large stack of materials you already have. Ammunition for weapons you do not use, excess cloth, and bulky low-value items can turn an extraction route into a death march.
| Loot decision | Take it when | Leave it when |
|---|---|---|
| Ship components and containers | They enable upgrades, storage, or production. | Almost never, unless extraction is immediately threatened. |
| Ammunition | It matches a weapon you use now or plan to use soon. | It is heavy, incompatible, and not part of a planned build. |
| Medical supplies | Your cargo stock is low or missions are becoming longer. | You have enough and need capacity for critical items. |
| Crafting materials | They fill a specific production need. | You are taking generic surplus with no purpose. |
| Weapons and armor | They improve a future kit or have strong trade value. | They are redundant and will slow a dangerous exit. |
If a mission produces more loot than you can carry, stage it near the elevator. Clear the route first, place valuables where you can recover them, then return with a more suitable backpack if the situation remains safe. This is much better than wearing a huge cargo pack through every firefight.
After extraction, unload immediately and review what actually limited the run. If you ran out of medicine, produce or acquire treatment supplies. If ammunition was the problem, standardize around fewer calibers. If you lacked storage or crafting access, prioritize the relevant Magnum upgrade rather than buying unrelated nodes.
FAQ
What is the best first step in a Quasimorph guide?
Finish the tutorial, unload all useful gear into the Magnum, then select a nearby low-risk contract with a clear objective. Build a repeatable deployment-and-extraction loop before chasing difficult story missions.
Should beginners take every item they find?
No. Prioritize ship components, containers, needed medical supplies, useful ammunition, and gear that supports a real loadout. Overloading yourself can make the return to the elevator more dangerous than the mission itself.
How do I avoid dying when opening doors?
Do not open a door with your final action point. Approach carefully, use Stealth to check for nearby enemies, then breach while you still have enough actions to shoot or retreat behind cover.
When should I extract?
Extract after completing the objective when health, ammunition, food, water, or Quasimorphosis begins to reduce your margin for error. A smaller successful haul is better than losing a full inventory and a trained clone.
Which contracts are best for early progression?
Choose nearby contracts with manageable difficulty, limited floors, and objectives you understand. Espionage and elimination runs can be efficient when you can reach the objective safely, while defense missions may demand more preparation and sustained combat.