Start With a Repeatable Survival Loop
Quasimorph punishes small mistakes that pile up: an empty magazine, a rushed doorway, or one extra room searched after the objective is complete. Your early goal is not to clear every station. It is to complete manageable contracts, return with useful supplies, and make the next deployment safer.
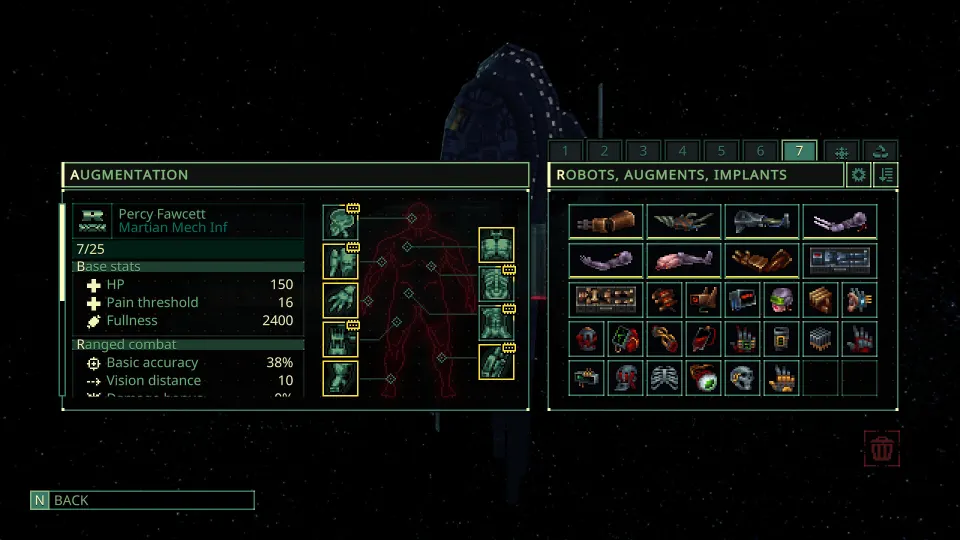
Finish the tutorial, then unload your operator into the Magnum before choosing another mission. This puts weapons, ammunition, medicine, and materials in one place, making it easier to build a deliberate loadout.
Treat every early deployment as a short loop:
- Check the contract objective, floor count, travel time, and enemy strength.
- Pick an operator, class, weapon, and matching ammunition together.
- Bring food, medical supplies, and ammunition to finish without relying on floor loot.
- Complete the objective before turning the mission into a scavenging trip.
- Extract while you still have health, ammo, calories, and a route to the elevator.
- Unload the survivor and spend the haul on the bottleneck that caused trouble.
The Magnum is your long-term advantage. Examine its upgrade branches and note the components required for useful improvements. Production and storage upgrades can make ordinary losses easier to absorb.
| Early priority | Why it matters | Practical approach |
|---|---|---|
| Unload returned gear | Prevents ammunition and medicine from being stranded | Use the unload option after extraction |
| Basic supply production | Reduces dependence on lucky floor loot | Install an available Conveyor early |
| Replaceable loadouts | Lets you learn without risking your best kit | Take solid, common gear on unfamiliar contracts |
| Upgrade components | Unlock Magnum progression | Check requirements before selling materials |
Do not hoard every good item forever. Equipment sitting in storage while contracts become harder is not protecting you. Use a sensible kit when armor, a reliable firearm, or enough medicine is the difference between extraction and losing an operator.
Choose Contracts You Can Finish
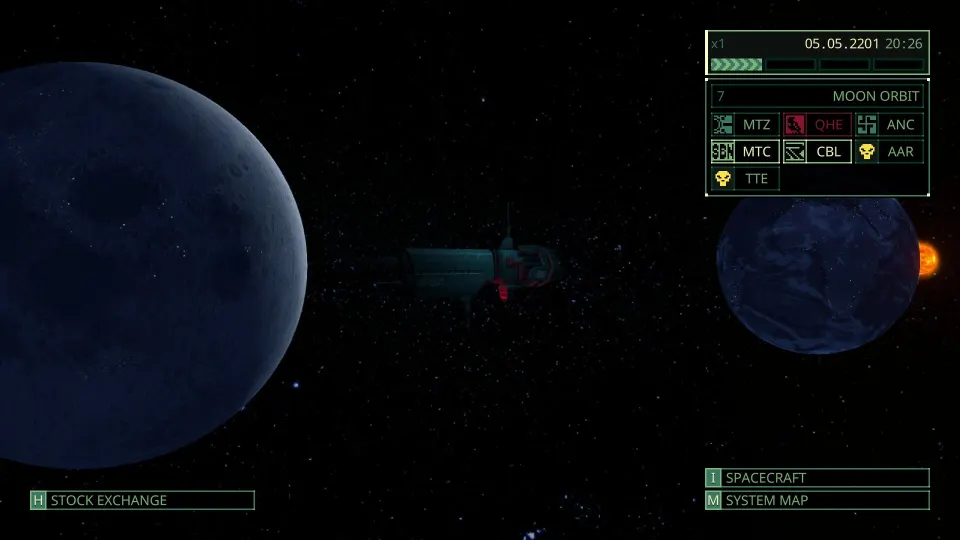
The first visible mission is not automatically the best first mission. Stay close to the Magnum while building a reserve of weapons, ammunition, healing supplies, and replacement operators. A local low-difficulty contract is usually more valuable than a dramatic marker requiring a long trip.
Read the objective rather than judging a job only by rewards. Elimination, espionage, sabotage, conquest, and defense missions require different preparation. Defense jobs are often awkward early because loot is limited and pressure is harder to predict.
| Contract detail | What to check | Early-game decision |
|---|---|---|
| Difficulty and concentration | Enemy threat, not just skull icons | Prefer the low end of available danger |
| Floors | Time, calories, ammo, and healing required | Take shorter missions first |
| Objective | Whether you must kill, steal, destroy, defend, or escort | Skip unclear win conditions |
| Travel time | Whether the job remains available on arrival | Stay local unless travel solves a need |
| Reward faction | Future relationship and reward pool | Support factions that fit your plans |
Faction politics matters, but survival comes first. Supporting a faction can improve relations and strengthen it; opposing one can weaken it. Pick one or two factions whose rewards you value instead of trying to manage every group at once.
Faction technology affects potential rewards. Browse faction information before committing to a campaign direction. You do not need a perfect political plan in your first hours, but each contract changes more than your inventory.
Wait when your operator is injured, compatible ammunition is nearly gone, the route is long for an ordinary reward, or the objective demands a capability you do not understand. Declining a job costs less than losing a rare gun and trained operator.
Win Fights With Positioning
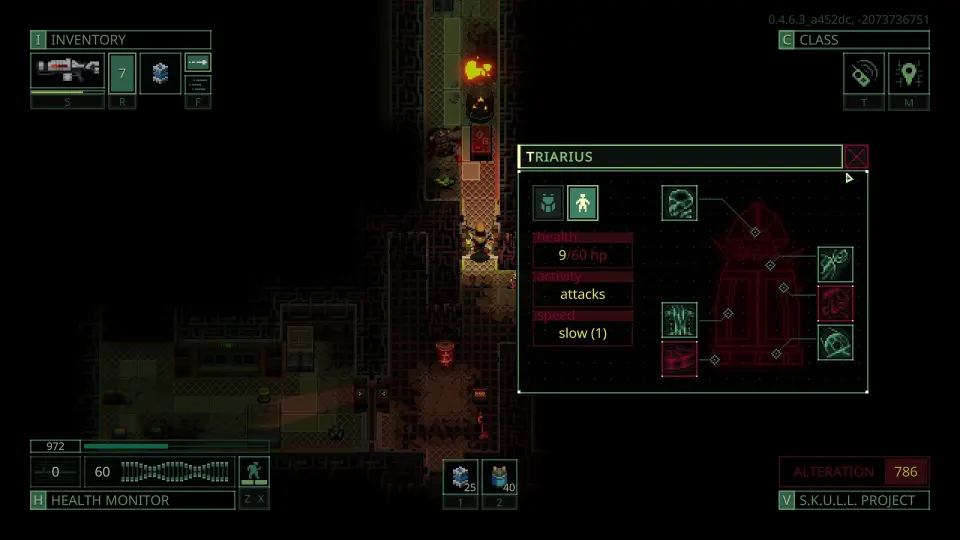
Combat is safest when enemies cannot make a clean attack. Inspect dangerous targets before engaging, especially enemies with long-range firearms, energy weapons, fast movement, flamethrowers, or unusual resistances. Tooltips and enemy inspection are worth the time.
Your movement stance is a defensive tool, not merely a speed setting.
| Stance | Best use | Main tradeoff |
|---|---|---|
| Stealth | Scouting doors, sensing nearby enemies, conserving calories | Slow movement |
| Walk | Normal combat and careful exploration | Fewer actions than running |
| Run | Retreating and hit-and-run repositioning | Accuracy penalty and limited interaction |
Use stealth when approaching an unknown door or corridor. It can reveal nearby threats behind walls and lets you open a door without spending your final useful action. If danger is waiting, switch to a combat stance while actions remain.
Never open a door or enter an unknown room with your last Action Point. A closed door, diagonal angle, half-wall, or non-explosive barrel can turn an open firing lane into a controlled engagement.
A reliable combat pattern is:
- Scout the doorway in stealth.
- Open it with actions remaining.
- Shoot from range or pull enemies toward your chosen corner.
- Retreat behind cover instead of trading shots in the open.
- Re-engage after checking ammunition and enemy position.
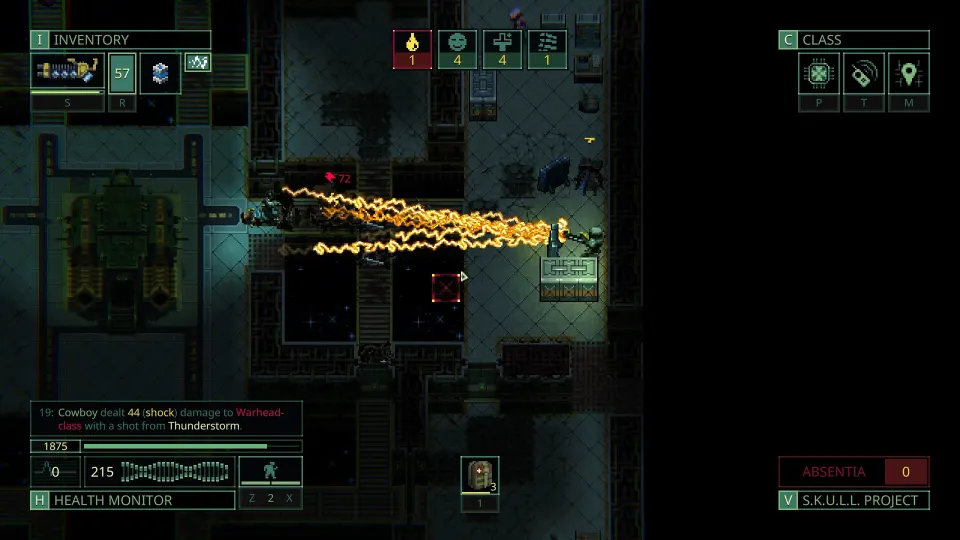
Weapon range matters as much as damage. A rifle can keep threats away, while a shotgun can dominate a doorway and punish enemies that close in. Bring compatible ammunition; a powerful firearm with one magazine is not a plan.
Avoid fighting beside fuel or poison containers when possible. Remove hazardous contents before a firefight if time allows. A stray shot can turn a safe position into an explosion, poison cloud, or blocked retreat.
Armor helps, but it does not make you invulnerable. Avoiding a hit through distance, cover, dodge, and door discipline is usually better than absorbing it.
Loot With a Purpose and Extract Early
Loot is valuable only when it improves your next decision. Carrying every stack of cloth, plastic, or ammunition for weapons you do not use fills your pack and encourages unsafe exploration.
Prioritize items that advance the Magnum or solve an immediate shortage.
| Loot category | Priority | Reason |
|---|---|---|
| Ship components and containers | Very high | Supports upgrades and storage |
| Compatible ammunition | High | Keeps deployed weapons functional |
| Medicine and crafting inputs | High | Makes future runs recoverable |
| Weapons and armor you can use | Medium to high | Useful replacements for weaker gear |
| Random bulk materials | Situational | Take them when needed |
| Ammo for unused weapons | Low | Adds weight without solving a problem |
If a floor contains more than you can carry, place valuable items near the elevator and return only if the station remains controlled. A small backpack with strong weight reduction can be better during combat; a larger pack can be used for a deliberate evacuation run.
Bring medical supplies before convincing yourself you will not need them. A few medkits can matter more than another marginal weapon. Bandages, splints, and infection treatment are also useful because one wound can turn a clean extraction into a desperate crawl.
Watch your safety margin throughout a run:
- Health and untreated wounds
- Ammunition in active weapons
- Calories and water
- Floors still ahead
- Quasimorphosis pressure and enemy escalation
- Whether the retreat route remains clear
When several of these become unfavorable, leave. The objective comes first; optional looting comes second. Extraction converts risk into progress, while greed can turn a completed mission into a total loss.
FAQ
What is the best first goal in this quasimorph beginner guide?
Build a reliable contract-and-extraction routine. Finish nearby low-risk jobs, return supplies to the Magnum, improve production and storage, then take on longer or harder missions.
Should beginners use their best gear?
Use gear appropriate to the risk. Do not send irreplaceable equipment into a mission you do not understand, but do not deploy nearly naked just to preserve supplies. A good replaceable loadout often prevents a more expensive loss.
Which movement stance should I use most?
Use stealth while scouting unknown rooms, walk for deliberate combat, and run for urgent repositioning or retreats. Switch based on the immediate threat.
Should I loot every room before leaving?
Usually no. Complete the objective, take high-priority items, and extract when resources become thin. Return for extra loot only when the route is safe and the cargo has a clear purpose.
Which factions should a beginner support?
Choose one or two based on rewards you want and avoid spreading efforts too widely. Check faction technology and reward pools, then choose contracts that support both immediate equipment needs and your longer-term plan.