Build an Operator Who Can Adapt
A contract can fail in one bad doorway exchange, but preparation gives you better answers before shooting starts. The strongest operators do not rely on one favorite gun; they bring options for different enemies, armor, and map layouts.
Before launching, choose settings that help you learn the systems instead of adding frustration. Difficulty options can affect death penalties, backpack capacity, stack sizes, repairs, evacuation rules, and early mission pressure. There is no reason to learn every system under the harshest possible conditions.
| Preparation choice | Why it matters | Helpful learning approach |
|---|---|---|
| Difficulty | Controls enemy and survival pressure | Start where mistakes are understandable |
| Death-loss settings | Determines equipment, experience, or rank losses | Reduce losses if resets stop experimentation |
| Repair settings | Affects post-contract maintenance | Enable repairs if maintenance feels distracting |
| Evacuation rules | Determines when you can leave | Use forgiving rules while learning objectives |
| Early mission settings | Can soften opening contracts | Expect later missions to become tougher |
Carry at least two damage types. Ammunition deals different forms of damage, while targets have individual resistances. A weapon that works well against one enemy can become inefficient against the next.
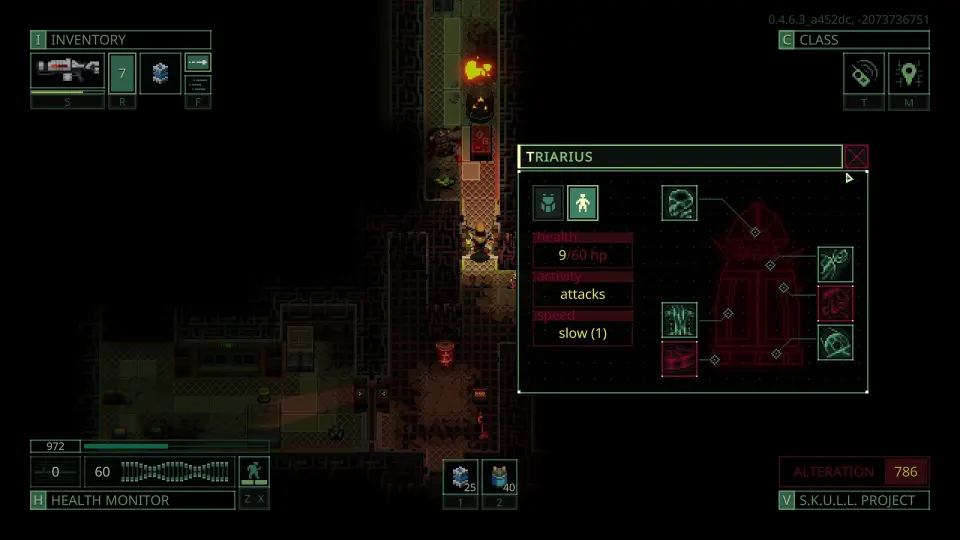
Inspect enemies before committing to a prolonged fight. High resistance reduces damage from that type, while low resistance reveals an opportunity. A target that resists fire, for example, may be much more vulnerable to cutting damage from buckshot.
| Loadout element | Practical purpose | Operator habit |
|---|---|---|
| Primary weapon | Handles common engagement ranges | Carry enough ammunition to use it reliably |
| Secondary weapon | Covers another damage type or role | Choose it for resistances, not appearance |
| Emergency option | Helps when ammo or position fails | Keep a close-range backup available |
| Spare ammunition | Lets you change damage types | Supply both weapons, not just one |
| Healing and food | Sustains long contracts | Check supplies before deployment |
A servo backpack is useful for weapon-heavy runs because it grants another weapon slot and improves reload duration for the weapon in that slot. It is not a large loot container, so bring or switch to a bigger backpack when extraction capacity matters. Enter with combat flexibility, then prioritize cargo space after the area is secure.
Win Fights With Information and Positioning
Combat rewards observation. Check resistances, count your actions, and avoid entering a room without a response ready for enemies that already have line of sight.
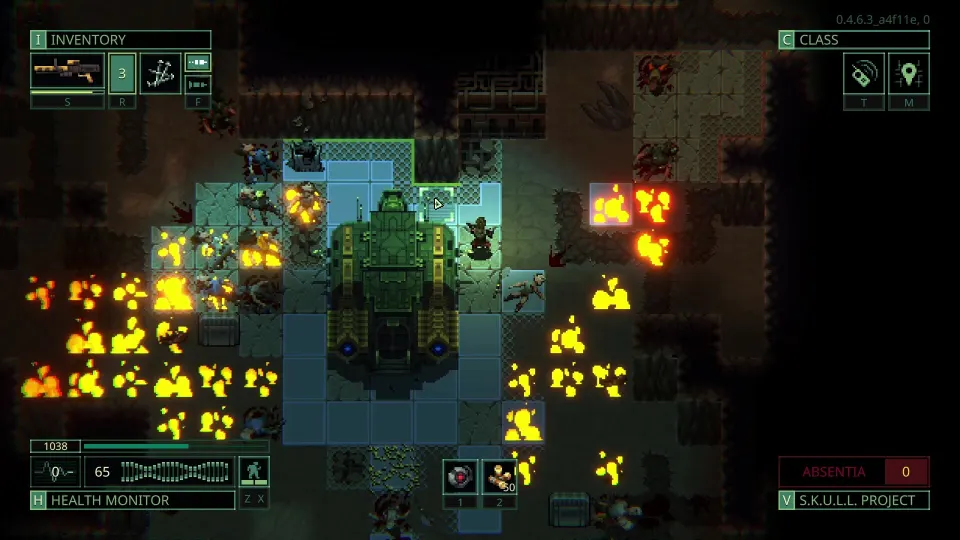
Use the visible-entity highlight function to make enemies and bodies easier to distinguish. It is especially valuable in dark rooms, clutter, and burning areas where a living hostile can blend into effects or corpses. Scan before looting so you do not mistake an uncleared room for a safe one.
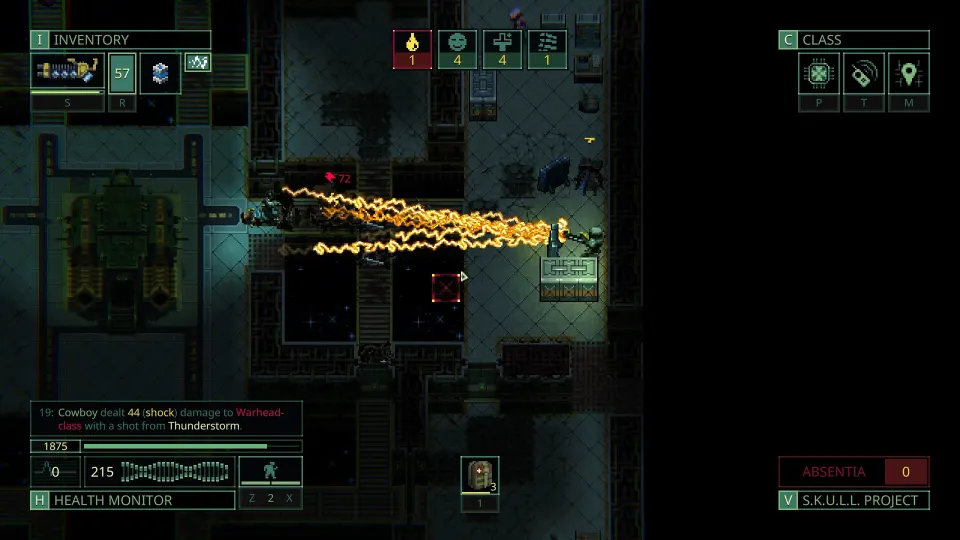
Manual targeting is another powerful tool. Holding the aiming control shows the expected firing line toward the cursor. Use it to target objects, fire down long corridors, detonate explosive barrels, or attempt shots the automatic target display does not offer cleanly.
Scatter and accuracy still matter. A displayed line is not a guarantee that every shot lands exactly where intended. When an enemy is near a corner, try targeting a tile beyond or beside it. Line geometry and scatter can create a workable shot even when standard targeting appears blocked.
| Situation | Safer response | Why it works |
|---|---|---|
| Enemy resists your current weapon | Change weapon or ammunition | Avoid wasting actions on reduced damage |
| Enemy is hidden in fire or darkness | Highlight visible units | Confirm whether the threat is dead |
| Long corridor with hazards | Manually target barrels or objects | Explosions can affect multiple threats |
| Enemy is around a corner | Try a manual angle past the target | Geometry may allow a hit |
| Fast enemy may be behind you | Turn around and scan often | Faster foes can close distance quickly |
Do not become attached to one solution. A capable operator changes damage type, route, and pace as conditions change. That flexibility also preserves medicine, ammunition, and armor for the rest of the contract.
Treat Doors and Turns as Defensive Tools
Doors are dangerous because they change line of sight while consuming an action. If you open one as your final action, enemies can act with the doorway open before you can react. A hidden shooter can turn a safe corridor into a failed run.
Walk when you need deliberate interactions. Walking supports doors, inventory management, and careful room clearing. Running covers distance quickly but restricts certain interactions, so use it for relocation rather than routine exploration.
A dependable door sequence is:
- Approach with enough actions left to react.
- Open the door with at least two actions remaining whenever possible.
- Inspect the revealed space and identify threats.
- Shoot, retreat, close the door, or reposition.
- If you have only one useful action left, skip it and start the next turn with more control.
| Turn state | Risk level | Best move |
|---|---|---|
| Closed door, two or more actions | Low to moderate | Open it and assess the room |
| Closed door, one action | High | Wait or skip to reset actions |
| Open door, enemy visible | Depends on cover and range | Attack, retreat, or break sight |
| Room after a kill | Moderate | Scan before looting |
| Long retreat route | Increasing | Check behind for pursuers |
Movement mode is part of your combat kit. Sneaking offers fewer actions, so opening a door while sneaking can leave you exposed immediately. Match your movement mode to the moment instead of using one by habit.
When retreating, do not assume enemies remain where you last saw them. Some foes can move several tiles in a turn. Check your rear after noisy shots, explosions, and long pushes through unfamiliar corridors.
Loot Quickly Without Throwing Away the Run
Loot matters only if you survive to extract it. Clear nearby threats first, then transfer items efficiently so open inventory screens do not become a tactical liability.
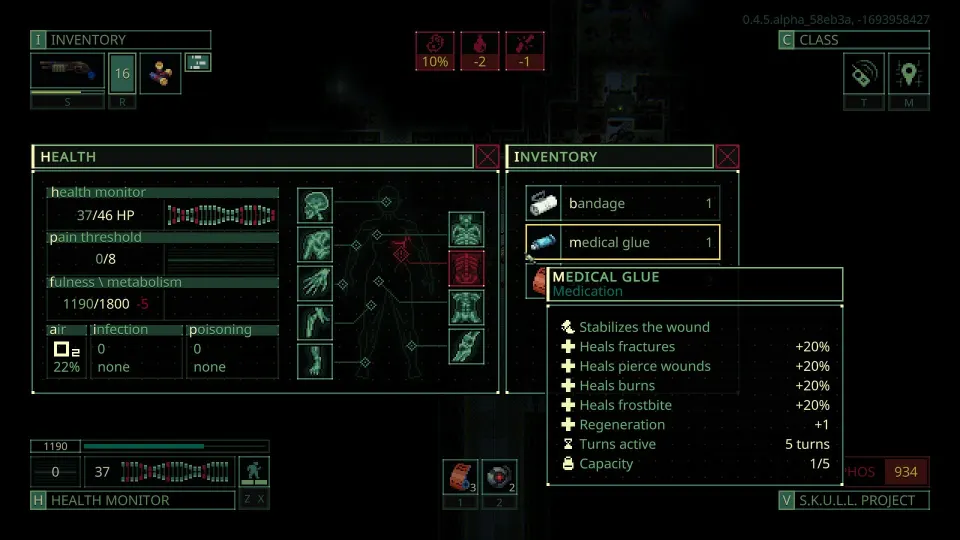
Use the quick-transfer shortcut to move selected items between containers without dragging each item. When there is compatible room, an item moves into your pack or vest and may join an existing stack. Equipment can be placed into usable slots when available, so check where transferred items land.
| Loot priority | What to take | Why it deserves space |
|---|---|---|
| Mission-critical items | Chips, objectives, required materials | They determine mission progress or extraction |
| Ammunition for carried weapons | Useful damage types and reloads | Combat supplies beat unusable calibers |
| Medical supplies and food | Healing and calories | They extend a safe run |
| High-value equipment | Useful weapons, armor, and modules | They improve future contracts or trading |
| Low-value clutter | Items without a current role | Leave it if cargo space is limited |
Do not fill every slot before the contract is under control. A full pack can force painful choices when you later find healing, ammunition, or an objective item. Leave room unless you are already heading for extraction.
Speed settings also matter over many contracts. Skipping repeated shuttle-arrival scenes reduces downtime, while faster trading opens station barter without unnecessary movement. These changes do not make combat easier, but they keep attention on contracts instead of repeated animations.
Keep alternate damage types in reserve when trading. The next mission may put an armored enemy in front of the ammunition you just sold.
FAQ
What is the most important habit in this quasimorph operator guide?
Inspect enemy resistances before committing to a weapon. Choosing an effective damage type saves ammunition, actions, and health.
Should I carry more than one weapon?
Usually, yes. Two weapons with different damage types give you answers for enemies with different resistances. A servo backpack can add a third weapon slot for combat-focused contracts.
Why avoid opening doors at the end of a turn?
Opening a door uses an action and can expose you immediately. If it is your final action, opponents may act before you can shoot, retreat, or close the door.
How do I spot enemies in dark or burning areas?
Use the visible-entity highlight function. It makes living enemies easier to separate from corpses and environmental effects.
When should I evacuate?
Evacuate when the objective is complete, supplies no longer justify the remaining risk, or you have valuable progress worth protecting. Your evacuation settings can also affect when leaving is available.