What to Bring Before a Contract
The right loadout matters because a contract can become unwinnable when your weapon damage, ammunition, or healing supplies do not match the enemies you meet. Quasimorph required items are not a fixed checklist for every mission; they are practical tools chosen around danger level, floor count, enemy types, and clone strengths.
Check the contract screen before launching. Difficulty skulls and floor count help estimate ammunition, food, and medical support. Early on, avoid treating every mission as a full-clear expedition. Pack enough to survive and extract, then expand your loadout as you learn what the location demands.
| Item group | Why it matters | Basic priority |
|---|---|---|
| Primary weapon | Gives you a dependable answer to common enemies | Essential |
| Second damage type | Prevents enemy resistances from stopping your run | Essential |
| Ammo | Supports both weapons through multiple encounters | Essential |
| Healing and wound care | Lets a clone recover from damage and status problems | Essential |
| Food | Covers calorie use during exploration | Essential |
| Carry-capacity gear | Makes room for gear and profitable loot | Highly useful |
Your primary weapon should be one you can reload reliably and use comfortably in close quarters. Shotguns can be extremely effective with range and scatter bonuses, but they are not a universal answer. A weapon that performs well against one armored target may be inefficient against another enemy with different resistances.
Do not assume every contract needs identical supplies. Defense missions can be difficult for new players: there is little map loot compared with other contract types, cover can be limited, and attackers determine much of what you can collect. Conquest and elimination missions often provide more chances to restock from containers, corpses, and rooms.
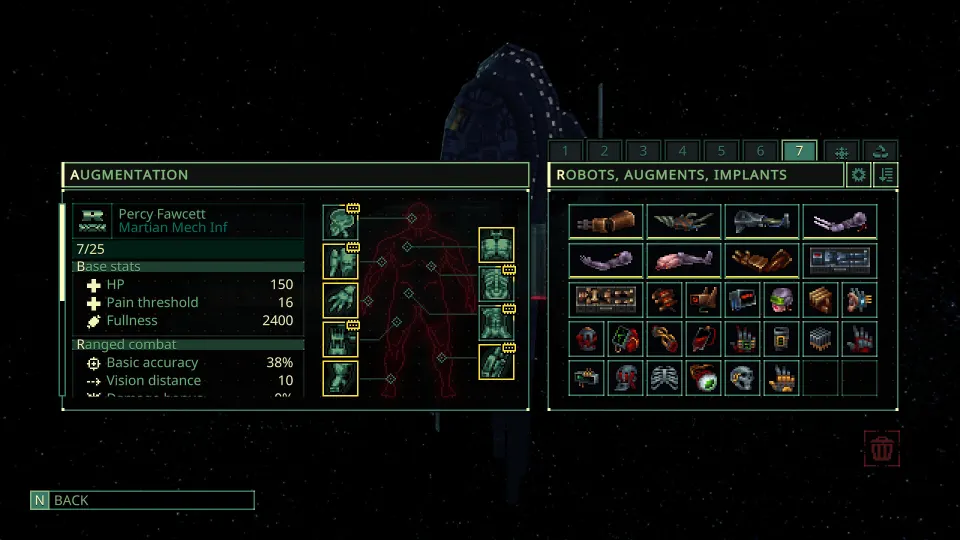
Build Around Damage Types, Not Just Damage Numbers
Every ammunition type deals a damage type, and enemies can resist some types far better than others. This makes a second weapon or alternate ammunition more valuable than simply carrying a larger stack of one favorite round.
Inspect enemies before committing to a fight. If a target has high resistance to your current damage type, switch tools before wasting turns and ammunition. A heavily protected cyborg, for example, may shrug off fire while being much more vulnerable to cutting damage from buckshot.
| Loadout choice | What it solves | When to use it |
|---|---|---|
| One weapon, one ammo type | Low weight and simple inventory management | Short, low-risk contracts |
| Two weapons with different damage types | Enemy resistance coverage | Standard exploration contracts |
| One weapon plus alternate ammo | Flexibility without another weapon slot | When inventory space is tight |
| Three weapons with servo backpack support | Broad tactical coverage | High-threat or long contracts |
A useful early pattern is to bring one dependable general-purpose weapon and one option that deals a clearly different damage type. Keep enough ammunition for both, rather than carrying a backup gun with only a token number of rounds. A backup that cannot finish a fight is not truly a backup.
Choose ammunition after considering what you expect to face:
- Bring varied damage types when entering unfamiliar stations.
- Favor the damage type that performs best against the expected faction or enemy group.
- Keep reload needs in mind; a powerful weapon is risky if it leaves you exposed.
- Save specialty ammunition for resistance-heavy targets.
- Reassess supplies after looting rather than firing every round immediately.
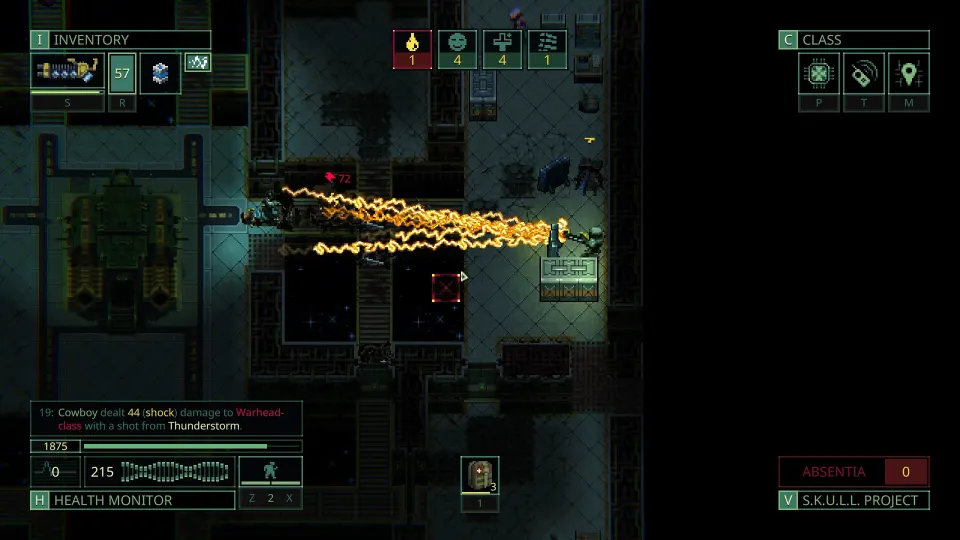
Manual targeting can stretch the value of ammunition. Holding the aiming control reveals the expected line of fire and can help you target objects, barrels, distant tiles, or angles near cover. It is useful for clearing hazardous fuel containers from range, but weapon scatter and accuracy still affect the result.
Medical, Food, and Hazard Supplies
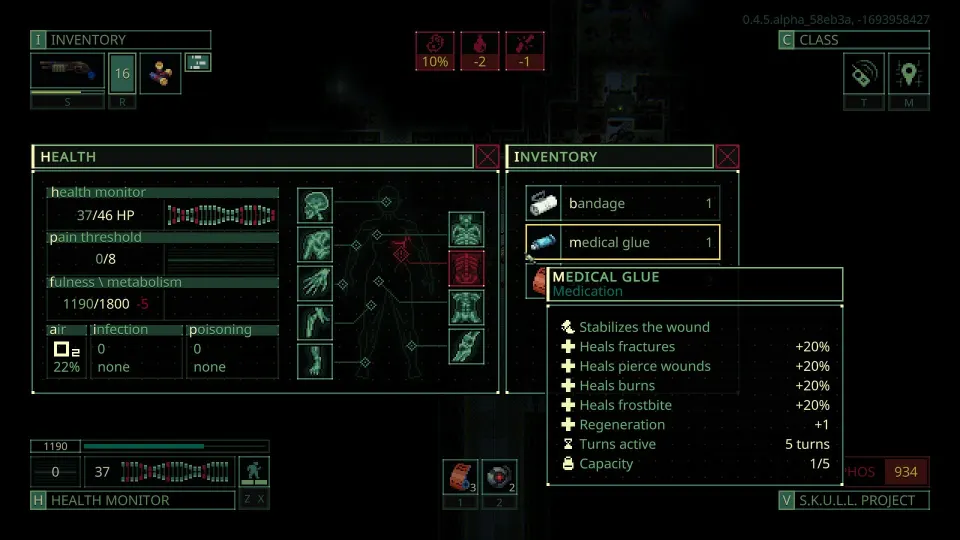
Medical items and food are important Quasimorph required items because a run can collapse from attrition even when combat goes well. Damage, infection risks, hunger, and hazardous rooms compound when you stay on a station for several floors.
Pack recovery supplies according to mission length, not just your clone’s starting health. A short raid may need only a small reserve, while a multi-floor operation benefits from enough treatment to survive an unexpected firefight. When uncertain, prioritize healing over extra loot space.
| Supply | Practical use | Important caution |
|---|---|---|
| Medical treatment | Restores a clone after damage or injuries | Do not wait until the final safe moment |
| Food | Replaces calories used while moving | Stealth movement reduces calorie use |
| Furuncle | Can add 5 health for the current mission | It may cause infection |
| Poison removal | Limits container hazards | Drop it before nearby fighting |
| Fuel removal | Stops containers from exploding when hit | Clear it before shooting nearby |
Furuncle can be an emergency health boost when no better option exists. The gain is modest, but five health can decide whether a clone survives the next attack. It carries a chance of infection, so it is safer when you have a way to manage that consequence.
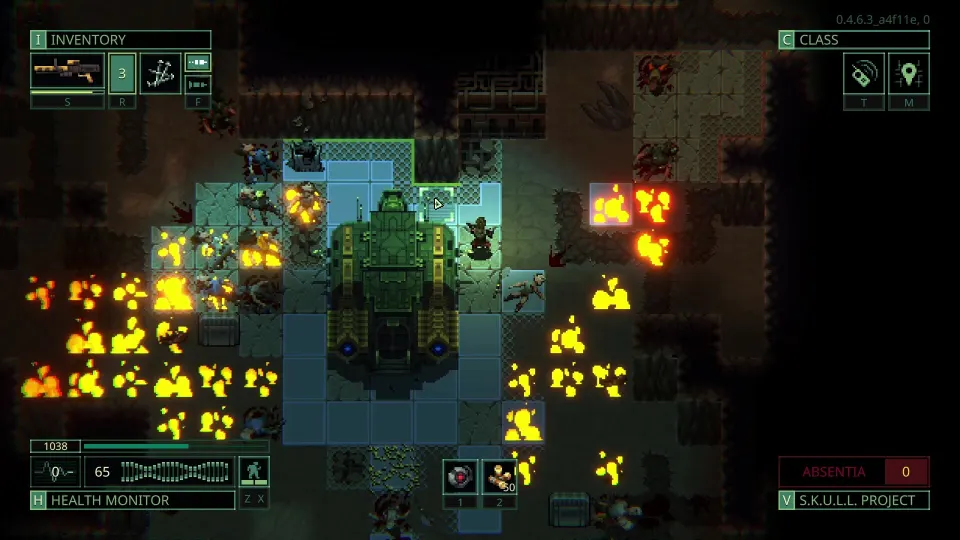
Before a firefight, inspect nearby containers and remove fuel or poison by interacting with them and moving the dangerous contents onto the ground. A stray shot cannot ignite or rupture material that is no longer inside the container.
Movement mode affects food needs and survivability. Use stealth while traveling through uncertain areas to detect nearby enemies and conserve calories. Switch to normal movement when combat is likely, because two actions let you combine movement, door use, and shooting more safely. Running is valuable for escape, but its accuracy penalty and interaction restrictions make it a poor default.
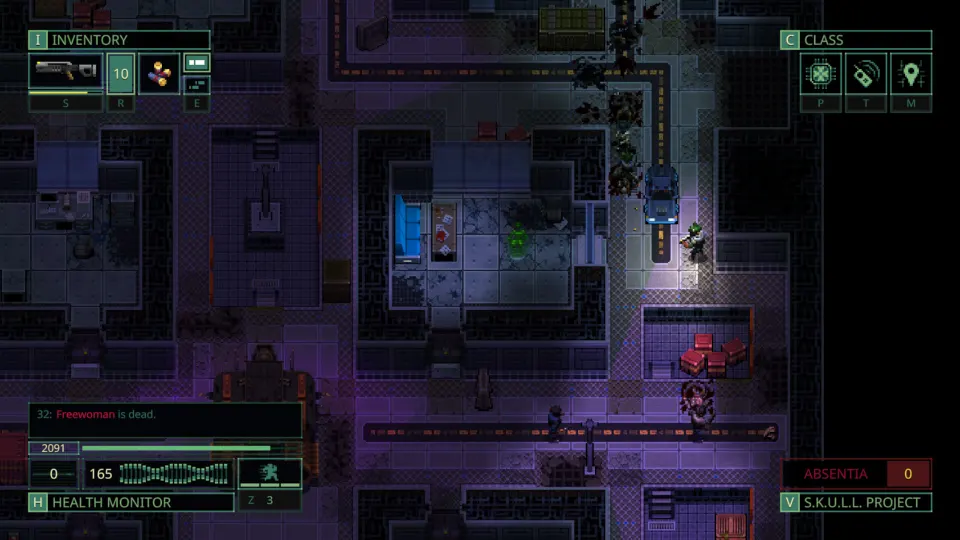
Inventory Space, Loot, and Mission Discipline
Capacity gear is easy to overlook until you must abandon ammunition, armor, or useful crafting material. A servo backpack is especially valuable for combat loadouts because it provides an additional weapon slot and reduces reload duration for the weapon in that slot.
You can carry a larger backpack into a mission and change into it after combat if your goal shifts from fighting to looting. This does not create extra nested storage, but it can improve return-trip capacity without sacrificing a useful combat setup at the start.
| Situation | Best inventory approach | Why it works |
|---|---|---|
| Unknown contract | Two weapons, mixed ammo, moderate free space | Balances adaptability and loot room |
| Long combat mission | Servo backpack and planned ammunition stacks | Supports an extra weapon and faster reloads |
| Loot-heavy cleanup | Switch to a larger backpack after fighting | Preserves more materials for extraction |
| Resource shortage | Disassemble useful finds | Converts gear and ammo into crafting materials |
| Emergency hunger | Use available food before desperate options | Avoids unnecessary risk |
Disassembling equipment is a major resource source. Weapons, armor, and ammunition can become components for future crafting. Regular ammunition can provide gunpowder, while poison ammunition can provide acid. Learning these conversions changes what you look for: an item that is poor to equip may still be valuable to break down.
Body and mechanical parts can also be processed for resources. In an emergency, limbs can provide food after preparation, though relying on this means the mission has gone badly. Treat it as a survival option rather than your normal ration plan.
Do not create danger merely to save time. Open doors while actions remain, rather than ending a turn exposed in a doorway. Look behind you regularly, especially in long corridors. Fast enemies can close distance quickly, and one unnoticed attacker can consume the medical supplies intended for a harder fight.
FAQ
What are the most important Quasimorph required items?
Bring a primary weapon, a second damage option, enough ammunition for both, healing supplies, food, and enough carrying capacity to avoid discarding essentials. Increase amounts with contract difficulty and floor count.
Do I need two weapons on every contract?
Not always. A low-risk mission can be completed with one reliable weapon, but two damage types are safer when enemy resistances are unknown. A second weapon reduces the chance that one resistant enemy makes your ammunition ineffective.
How much food should I carry?
Carry more for longer contracts and aggressive movement. Stealth movement uses fewer calories per action, so cautious exploration lowers food pressure. If you are clearing several floors, bring a reserve instead of assuming the station will provide enough.
Should I take a servo backpack?
Take one when you want three weapons or value the reload benefit for an extra weapon slot. It is especially useful on difficult contracts where varied damage types matter more than maximum loot space.
Are fuel and poison containers worth looting?
Only after considering the danger. Remove fuel and poison from containers before fighting nearby so enemy fire or missed shots cannot turn them into explosions or hazardous areas.