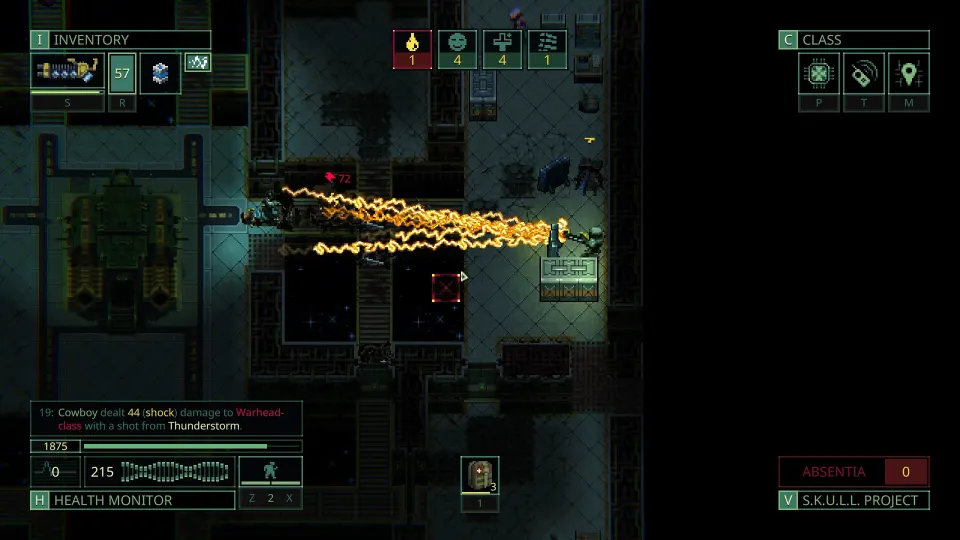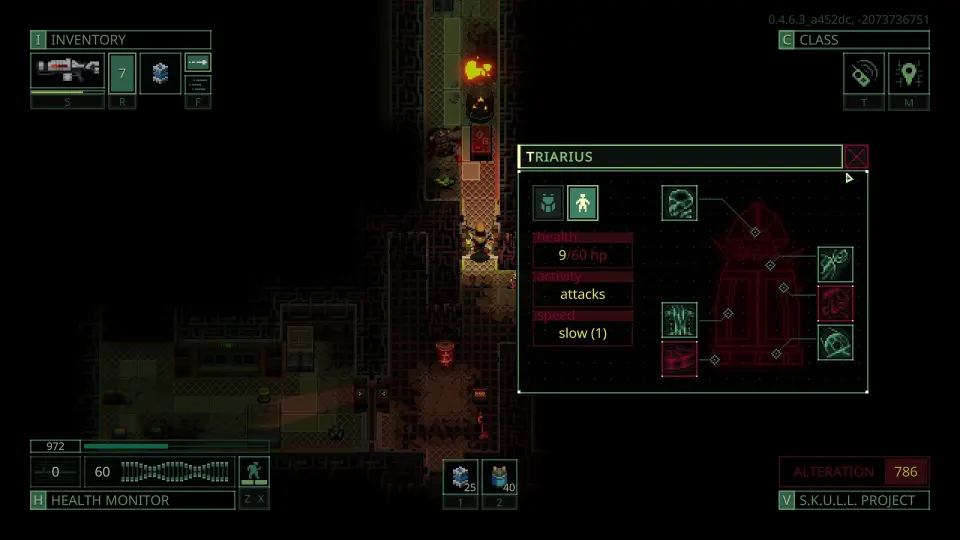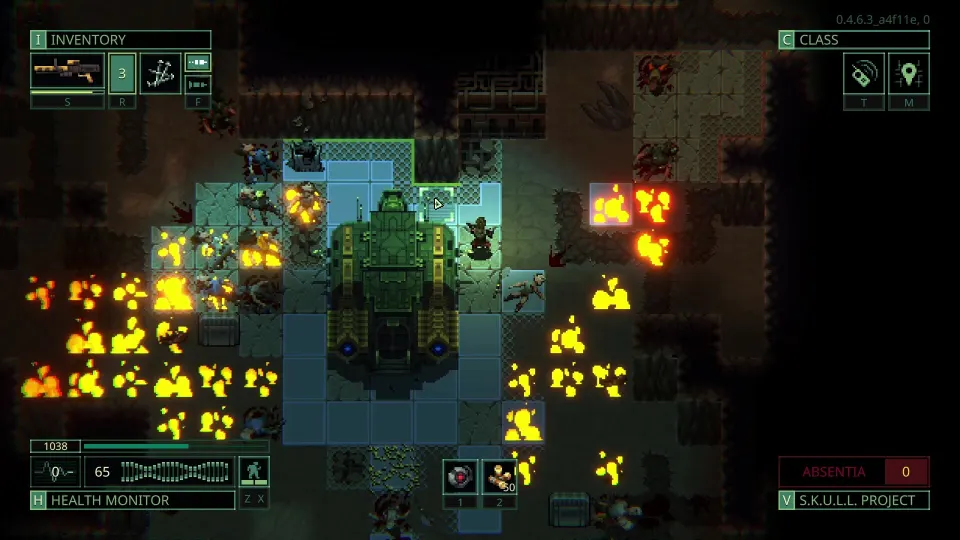
Start With the Extraction Mindset
Quasimorph rewards surviving with a modest haul more than dying beside a full backpack. Build a repeatable loop: prepare on the Magnum, finish a contract, extract, unload, and improve the next run.
Operators are valuable but replaceable clones. Death can cost their equipment, experience, and everything they carried, while a successful extraction converts even a small haul into progress. Normal difficulty is a sensible setting for learning the systems.
Finish the tutorial carefully. It is a real mission, so reload before uncertain rooms, check objectives before changing floors, and avoid opening doors with no Action Points left.
Afterward, use Unload All and inspect Magnum cargo before selecting another contract. Ammunition left inside a stored weapon cannot help the next operator.
Your opening routine should be:
- Keep rare weapons and irreplaceable supplies aboard until you understand the risk.
- Bring a weapon, matching ammunition, food, water, bandages, splints, and stronger medicine.
- Select a mission you can explain in one sentence before launching.
- Complete the objective before searching optional rooms.
- Extract when health, supplies, or Quasimorphosis remove your safety margin.
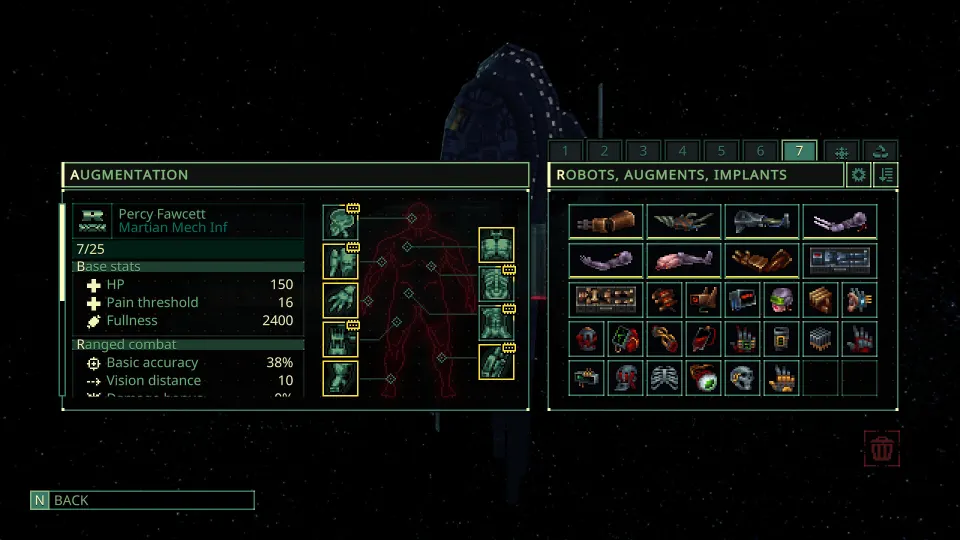
Choose Contracts for Control, Not Skulls
Contracts affect faction power, technology, rewards, and future shopping options. Each has a beneficiary and victim, and the briefing lets you choose a side. Defending can add friendly NPCs, but also creates more unpredictable fights.
Red skulls are only a partial difficulty indicator. They affect power concentration, but enemy technology, equipment, facility layout, mission conditions, and Quasimorphosis matter just as much.
| Contract check | Why it matters | Safer early choice |
|---|---|---|
| Travel time | Long trips consume time and reduce flexibility | Nearby stations or current system |
| Floor count | More floors need more food, ammo, and medicine | Short missions with clear goals |
| Faction technology | Better-equipped enemies bring greater threats | Lower-tech opponents you recognize |
| Objective | Missions may require killing, waiting, theft, or destruction | Objectives you understand before deployment |
| Facility type | Locations influence containers and likely loot | Stations linked to needed materials |
Stay near the Magnum instead of chasing dramatic markers across the system. A distant mission should solve a specific problem: a needed ship component, chosen story step, clustered contracts, or access to useful faction goods.
Rewards are not simple cash payouts. Listed items arrive first, while remaining value becomes credit with that faction. Credit is useful at its stations, but it can be lost if your relationship drops below zero and trade breaks down.
| Mission goal | Typical purpose | Early-game advice |
|---|---|---|
| Conquest | Take an asset by reducing occupants | Straightforward if you can manage repeated fights |
| Defend | Hold a location and clear enemies | Be cautious; allies complicate positioning |
| Elimination | Remove a high-value enemy | Expect a tough target and guards |
| Espionage | Steal an item and extract | Good when you can reach the target safely |
| Sabotage | Destroy required equipment | Confirm the target before committing |
Supporting one or two factions consistently gives you clearer goals and more useful faction credit. Opportunistic work is fine, but spreading effort everywhere makes planning harder.
Pack for the Mission You Have
A strong loadout is not necessarily the heaviest one. Weight reduces dodge potential, and excessive gear can turn a survivable encounter into a fatal one. Early on, mobility, ammunition discipline, and medical readiness are usually more valuable than carrying every contingency.
Match the operator, class, firearm, and ammunition together. Do not pick a favorite gun and force every clone to use it. A melee-focused class needs a reliable close-range option, while a shooter needs enough compatible ammunition for the facility.
| Item category | Bring it because | Common mistake |
|---|---|---|
| Primary weapon | Provides dependable damage at expected range | Bringing too little compatible ammunition |
| Secondary or melee option | Covers close encounters and durability problems | Carrying several heavy weapons |
| Bandages and splints | Treat bleeding and fractures quickly | Delaying treatment after injury |
| Strong medical kit | Recovers from serious mistakes | Leaving it in cargo to save weight |
| Food and water | Supports multi-floor exploration | Assuming every facility has supplies |
| Backpack or vest | Carries extraction value and essentials | Ignoring durability until items fall out |
Take only ammunition you expect to fire plus a reserve. Ammo for unused weapons is dead weight. Low-value scrap is rarely worth reduced dodge, inventory space, and added extraction risk.
Prioritize compact items that create progress:
- Ship upgrades and containers.
- Schematics, chips, and faction goods.
- Industrial tools and scarce crafting components.
- Medical materials and valuable plates.
- Weapons or armor that fill a real equipment gap.
If you want a large haul, do it deliberately. Stage items near an elevator, return with a larger pack only if the route remains safe, and extract before greed becomes a wipe.
Win Fights With Positioning and Discipline
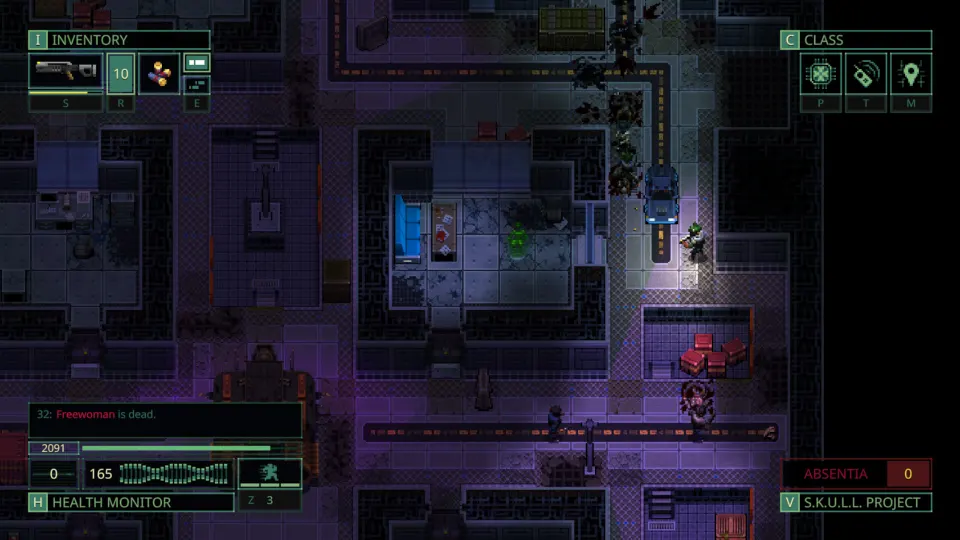
Most disastrous fights begin with a bad door. Never open an unknown door with your last move, and do not casually pass openings where enemies may be waiting. Use stealth to gather information, walk for normal movement, and run when you need to enter, fire, and retreat.
Approach diagonally in stealth, open the door, then breach only while you still have enough Actions to escape. If enemies are waiting, do not stand in the doorway and trade shots.
| Situation | Best response | Reason |
|---|---|---|
| Enemy beyond weapon range | Reposition or switch weapons | Attacks outside effective range are much weaker |
| Enemy line approaching | Fire, then retreat behind cover | Forces enemies into favorable range |
| Crowded room | Use explosives or avoid the breach | Groups can overwhelm strong armor |
| Bleeding or fracture | Stabilize when relatively safe | Delayed treatment can become lethal |
| Dangerous barrel nearby | Remove fuel if possible | Keeps retreat routes safer |
| Heavy enemy armor | Change damage type or penetration | Weak small arms may accomplish little |
Corners are powerful. Move into line of sight, shoot, then retreat behind a wall before the enemy has a clean response. This works especially well against enemies queuing toward a doorway.
Cover is often worth more than one extra shot. Armor is not invulnerability: fire, explosives, snipers, plasma, and energy weapons can end a run quickly. If a fight is unfavorable, retreat and force enemies to cross open ground.
Watch movement mode closely. Running creates opportunities, but forgetting your exposure or rushing into a room causes many avoidable deaths.
Extract, Upgrade, and Learn From Each Run
The objective is not to clear every tile. Once the mission condition is complete, decide whether optional loot is worth the remaining ammunition, food, medicine, and Quasimorphosis risk. Extraction is a win condition.
Quasimorphosis can make higher-power missions much worse. Learn its behavior gradually rather than making it part of every early contract. Staying near Mars and taking manageable local work reduces unfamiliar threats.
Back aboard the Magnum, unload the operator immediately. Repair or replace what failed, then improve the bottleneck that limited the run. If basic supplies ran short, improve production. If carrying capacity was the issue, improve storage or gear. If healing failed, stock more medicine before buying another weapon.
A practical early ship goal is basic Supply production. If starting cargo includes the required Welder for the first Conveyor, installing it creates a dependable route to basic supplies. Avoid buying every visible upgrade; prioritize the problem you actually encountered.
After every extraction, ask:
- What nearly killed the operator?
- Which supplies ran short?
- Did the weapon fit the enemy range and facility?
- Was the contract worth its travel and equipment risk?
- What one Magnum improvement would make the next run safer?
That review turns failed contracts into information and successful ones into steady progress.
FAQ
Is Quasimorph 1.0 beginner-friendly?
It is demanding, but manageable when you prioritize extraction over perfect clearing. Start on Normal, take nearby contracts, carry medicine, and leave after objectives are complete.
Should I follow red skull difficulty ratings?
Use skulls as one clue, not a final answer. Check faction technology, power concentration, objective type, floors, travel time, and Quasimorphosis before deciding whether a mission is safe.
What should I extract first?
Prioritize ship upgrades, containers, schematics, chips, scarce materials, and compact faction goods. Skip heavy common junk unless you have capacity and a safe extraction route.
How much medicine should I bring?
Bring enough for several injuries rather than one lucky fight. Bandages, splints, and at least one strong medical kit give you room to recover from bleeding, fractures, and surprise encounters.
When should I leave a mission?
Leave when the objective is complete if health, calories, ammunition, medicine, or Quasimorphosis make further exploration risky. This quasimorph 1.0 guide has one central rule: surviving with less loot is better than losing everything.