Reading the Quest Log Before You Deploy
The quasimorph quest log matters because contracts determine more than your next raid: they shape faction standing, unlock rewards, and influence who controls the Solar System. A mission with fewer skulls is not automatically safer, so the briefing deserves a careful read before selecting a side.
Each available contract represents a conflict over a facility. One faction begins the operation as the attacker, while the station owner can offer a counter-contract. This gives you a meaningful choice: help the force trying to take the site, or defend the faction that already owns it.
The quest log is also where you can match short-term needs with long-term campaign goals. A contract may provide a needed chip, useful loot containers, or progress toward a storyline you want to pursue. Because some faction paths are mutually exclusive, avoid treating every job as a simple cash run.
| Briefing field | What it tells you | Why it matters |
|---|---|---|
| Beneficiary | The faction initiating the operation | Shows who benefits if the contract succeeds |
| Victim | The current station owner | Indicates the opposing faction and possible counter-contract |
| Facility type | Laboratory, mine, farm, prison, civilian, or military site | Helps predict loot, fabricators, and layout |
| Reward value | The overall value assigned to completion | Affects possible faction credit after item rewards |
| Power concentration | Enemy squad budget per floor | Gives a more useful clue to combat pressure than skulls |
Read the full briefing, including the site-specific details near the bottom. A laboratory can be worth choosing for different reasons than a mine, even when both contracts show similar rewards. Planning around the facility is more reliable than hoping every raid contains the upgrade material you need.
Choosing a Side and a Reward
Use the side-switch option on the contract briefing to inspect both versions of a conflict. The attacking and defending versions can differ in enemies, objectives, loot opportunities, and the tactical situation inside the station.
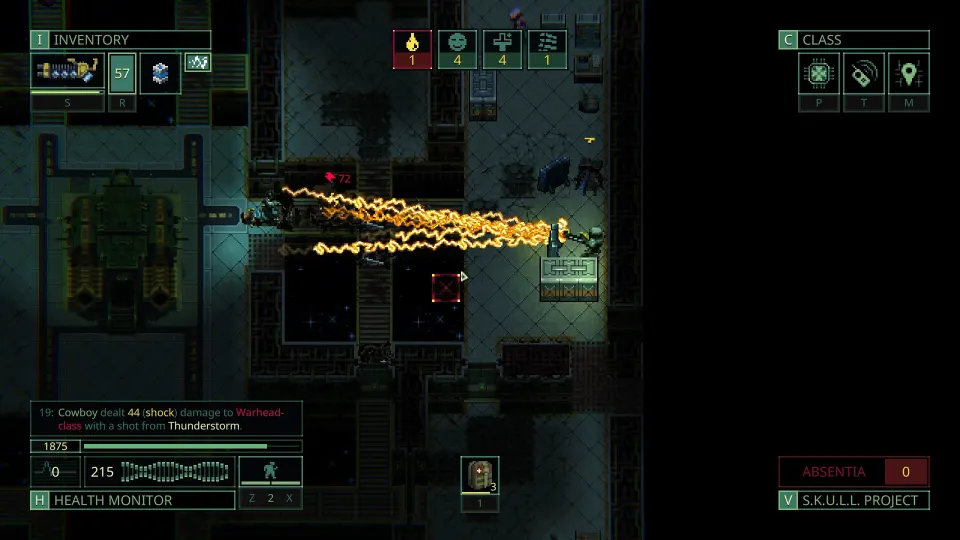
Taking a job for the defender places friendly NPCs in the facility. They can thin hostile squads and leave additional equipment behind if they fall. They are useful allies, but your PMC still needs clear movement routes and a plan for enemies fighting around friendly units.
Contract rewards are not simply direct payment. PMC Magnum receives much of a mission's value as items shown after extraction. Any remaining value becomes credit with the faction that issued the contract. That credit is limited to that faction's stations and technology offerings.
| Reward outcome | How it works | Player takeaway |
|---|---|---|
| Item payout | Part of the contract value arrives as post-mission items | Inspect the reward list before accepting |
| Faction credit | Unpaid reward value converts to credit with the issuer | Build credit where you intend to shop |
| Low-value contract | Items may account for the entire reward | Do not expect every job to add credit |
| High-value contract | Usually leaves more value for faction credit | Useful when saving for inventory or tech |
| Negative reputation | Trade can break if a credited faction becomes hostile | Protect credit before turning against that faction |
At early technology levels, contracts are especially useful for targeted chip farming. Completing a sufficiently valuable job can guarantee a chip reward, letting you pursue operators, classes, and crafting recipes instead of waiting for random drops. Check faction technology offerings before committing, since each organization supports different advancement options.
A practical selection routine is:
- Identify the chip, recipe, operator, class, or supplies you need next.
- Compare both sides of a contract instead of accepting the first listing.
- Check the facility type for loot and fabrication opportunities.
- Confirm that helping one faction will not damage a trading relationship you need.
- Pack for enemy damage types and hazards, not just the skull count.
This approach turns the quest log into a campaign-planning tool. You are choosing a relationship and a supply route, not merely picking the next map.
Estimating Mission Difficulty and Loot
Red skulls are easy to notice, but they are a narrow measure. They modify power concentration, while actual danger comes from the combination of enemy faction, technology level, squad budget, objectives, and Quasimorphosis conditions.
Power concentration is the budget used to build enemy squads on each floor. Two contracts with very different displayed values can still create similarly threatening encounters if their floor-by-floor power concentrations are close. A mission with a modest skull rating can still be brutal when its enemy faction has advanced gear or damage types your armor cannot handle.
| Difficulty factor | What can make it dangerous | How to prepare |
|---|---|---|
| Enemy faction | Faction-specific weapons, armor, and status effects | Bring suitable resistance and ammunition |
| Technology level | Elite troops and stronger weapons | Upgrade protection before relying on starter gear |
| Power concentration | Larger or better-equipped squads per floor | Carry healing, ammunition, and escape options |
| Quasimorphosis | Tough Quasimorphs can overwhelm an unprepared team | Learn weaknesses and control options |
| Mission objective | VIPs, bodyguards, targets, or extra floors | Budget supplies for longer raids |
Some objectives add both risk and opportunity. Infiltration targets can have equipment from a higher technology tier, making them valuable loot sources but harder opponents. Elimination missions may place a VIP and bodyguards in the facility, creating a concentrated and potentially lucrative fight.
Mission length matters too. A contract with extra floors, station dwellers, and special targets can produce more loot than a shorter alternative, but it also exposes your team to more attrition. Extracting with a full pack is only a win if you survive.
Quasimorphosis is another major variable. On high-power missions, Quasimorphs can become the pressure that breaks an otherwise solid plan. If you understand their weaknesses and manage the condition, they may be less threatening than a high-tech human force. If not, treat their presence as a serious increase in risk.
Do not discount missions without Quasimorphosis, either. A high-tech enemy force can be more dangerous when no interdimensional threat distracts or weakens it. The useful question is not “How many skulls?” but “What will be shooting, poisoning, irradiating, or cornering my squad?”
Using Locations to Plan Progress
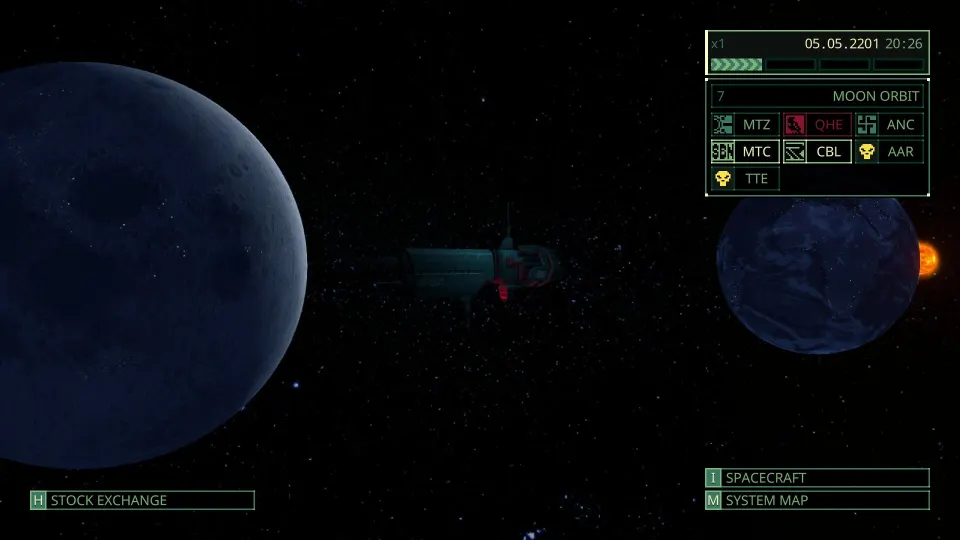
Facility ownership and type connect the quest log to the broader economy. Each station uses a tileset that influences what containers, scenery, and fabricators may appear. That makes location selection a repeatable way to improve your odds of finding specific materials.
| Facility type | Planning value | What to check before accepting |
|---|---|---|
| Laboratory | Technical and research-oriented environment | Resources supporting current upgrades |
| Mine | Industrial extraction setting | Needed equipment or crafting materials |
| Farm | Production-focused site | Supplies and resource containers |
| Prison | Constrained combat environment | Tight routes and objective placement |
| Civilian installation | Mixed infrastructure | General supplies and scavenging potential |
| Military installation | Combat-oriented environment | Enemy loadouts and armor readiness |
If an upgrade material refuses to appear, use the commodities market to identify where it is produced and who controls the relevant station. Then use the quest log to look for a contract at that location or against that owner. This is more efficient than repeatedly entering unrelated facilities and hoping the right container spawns.
Location research also helps with loadout decisions. A mission against a faction known for a damage type should change your armor, medicine, and weapon plan. Entering without the appropriate resistance can make a profitable-looking contract more expensive than its reward.
The best contracts align three goals: a faction relationship you can live with, a reward that advances your team, and a location that supports material needs. When those goals conflict, prioritize the constraint that could end the run.
FAQ
What is the quasimorph quest log used for?
The quasimorph quest log is the contract screen used to review mission objectives, factions, rewards, facility locations, and combat conditions. It helps you choose jobs that support immediate loadout needs and longer-term campaign plans.
Should I always take the contract with fewer red skulls?
No. Skull count mainly affects power concentration and does not fully represent enemy technology, faction damage types, special objectives, or Quasimorphosis. Read the complete briefing and prepare for the actual opponents.
Why did I receive items but little or no faction credit?
A contract's displayed value is partly paid through post-mission items. On low-value contracts, those items can account for all value, leaving no extra credit with the issuing faction.
Can faction credit be lost?
Yes. If your reputation with a faction falls below zero after you have built credit with it, trade can break and stored credit can be forfeited. Spend credit or avoid hostile actions against factions you still rely on.
How do I find materials for Magnum upgrades?
Choose contracts at facility types likely to contain needed materials or fabricators. The commodities market can identify where goods are produced and which faction controls the relevant station.