How to Choose the Best Armor
The best armor in Quasimorph is not always the suit with the highest resistance. Heavy protection can lower dodge enough that burst weapons, shotguns, and close-range enemies land nearly every hit. A strong loadout protects against the threats you expect while preserving enough mobility to avoid turning every firefight into a damage race.
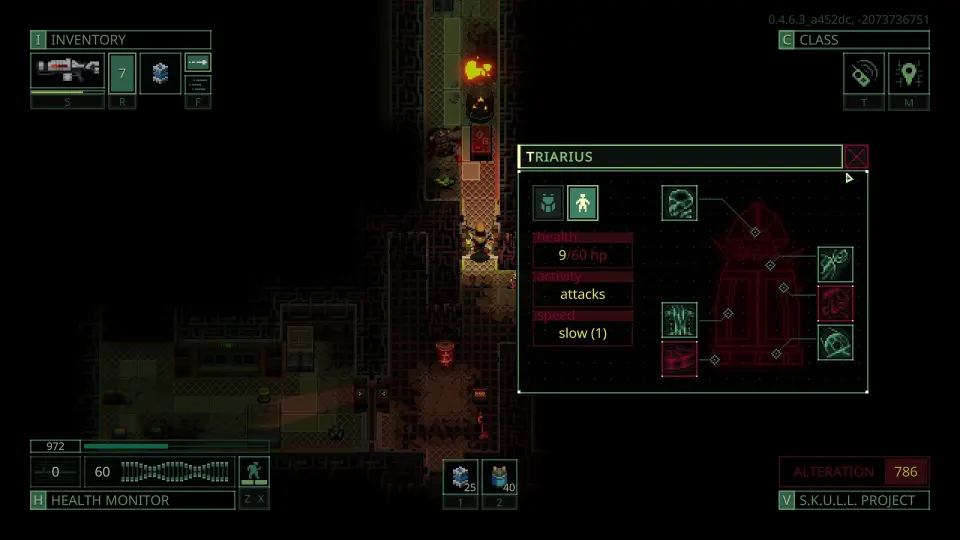
Armor should be evaluated as a complete system: helmet, body armor, pants, backpack, vest, clone upgrades, distance from enemies, and the damage type being used against you. A resistance gap can be dangerous, but so can excessive weight.
| Priority | Why it matters | Practical goal |
|---|---|---|
| Damage resistance | Reduces incoming damage of matching types | Cover physical damage first, then mission-specific threats |
| Weight and dodge | Heavy gear can create severe dodge penalties | Avoid stacking armor until enemies effectively cannot miss |
| Weaknesses | A low or missing resistance can decide a mission | Improve the most relevant weak stat rather than every stat |
| Carry capacity | Looting and supplies matter in extraction missions | Use vests and backpacks to avoid sacrificing protection |
| Range control | Damage may rise sharply at close range | Fight from favorable distance whenever possible |
Physical protection is usually the safest baseline because conventional firearms are common. However, do not assume a high physical value makes a mission safe. Energy, radiation, corrosive, fire, cold, shock, and entropy threats can ignore the strength of an otherwise excellent kit.
Dodge is especially important against weapons that fire several shots per attack. A modest enemy accuracy value becomes much more dangerous when your armor load pushes dodge deeply negative. Every pellet or burst round that connects can add pain, wounds, critical damage, and status buildup.
Early and Midgame Armor Builds
Early armor does not need to be perfect. The best approach is to assemble a light or medium set with broadly useful resistances, enough storage for ammunition and healing items, and no catastrophic weakness for the location you are entering.
Avoid spending scarce materials on trying to transform low-tier equipment into flawless endgame gear. Moderate upgrades on accessible armor can be efficient, especially if they remove a weakness you repeatedly encounter. Save the largest investment for high-tier armor that you expect to keep.
| Build stage | Recommended approach | Upgrade focus | Main caution |
|---|---|---|---|
| Early game | Light-to-medium mixed armor | Patch physical and common elemental gaps | Do not accept huge dodge penalties |
| Midgame | Reliable tier-six armor with selective upgrades | Add resistance needed for current enemies | Avoid upgrading every stat equally |
| Late game | High-tier armor with broad coverage | Remove meaningful weaknesses | Material costs rise quickly |
| Endgame | Tier-eight or tier-nine equipment | Optimize remaining resistance gaps | Heavy armor still needs mobility support |
A practical midgame build often beats a rarer heavy suit when it lets you reposition, sprint, and avoid repeated hits. This matters most in cramped rooms, corridors, and doorways, where enemy weapons may operate at their strongest range.
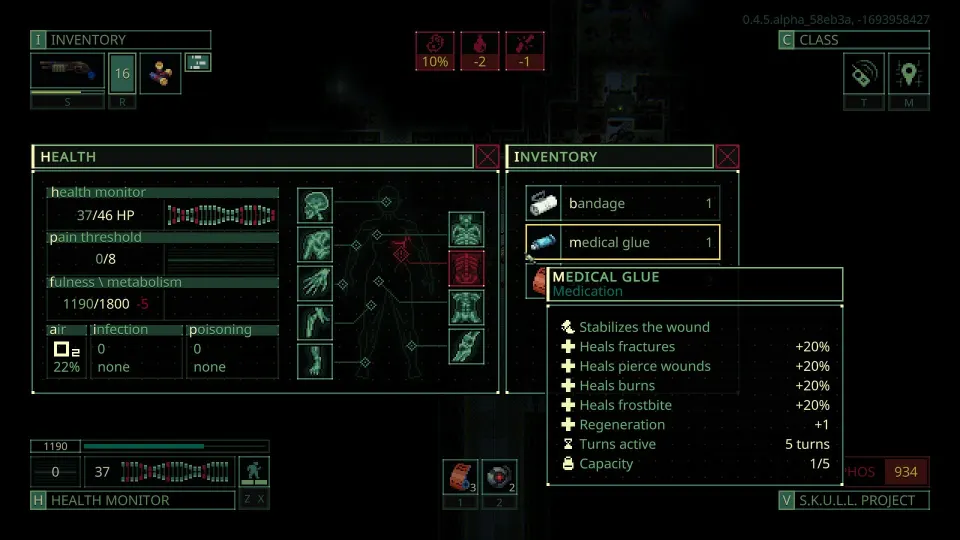
Use your inventory gear intelligently. A vest or backpack that improves carry capacity can let you bring medical supplies, spare ammunition, and loot without choosing excessively heavy armor pieces. The goal is not merely surviving a firefight; it is extracting with what you found.
When choosing between two similar pieces, use this order:
- Keep the item that prevents a dangerous damage-type weakness.
- Prefer lower weight if the resistance difference is small.
- Favor capacity gear when it prevents overloading your clone.
- Upgrade armor before routinely upgrading weapons.
- Replace temporary gear once higher-tier armor becomes available.
Weapon upgrades can be costly for limited gains, while armor upgrades directly address survivability. A few resistance upgrades on a useful mid-tier set can carry a clone through difficult operations until a better foundation appears.
Damage Types, Weight, and Resistance Gaps
Armor resistance is only one layer of defense. Weapon behavior, ammunition, critical hits, armor penetration, range, and status effects all change the value of a suit. The most dangerous enemies are often not the ones with the largest displayed damage number, but the ones that exploit your weight, weakness, or position.
| Threat | Why armor alone may fail | Best response |
|---|---|---|
| Burst weapons | Multiple rounds can all connect against low dodge | Keep weight controlled and break line of sight |
| Shotguns | Several pellets at close range can cause severe wounds | Do not open doors while standing adjacent |
| Armor-piercing weapons | Protection may be partially bypassed | Use cover, range, and healing preparation |
| Laser-equipped weapons | Very high hit chance makes dodge less reliable | Prioritize resistance and avoid exposure |
| Explosives | Dodging may not protect you consistently | Maintain distance and avoid clustered positions |
| Status weapons | Fire, radiation, and other effects can stack | End fights quickly and bring treatment supplies |
Close range is particularly dangerous because many weapons deal more damage within their effective range. An enemy that appears harmless from several tiles away can become lethal after moving into a doorway or around a corner. Do not judge a weapon only by its long-range performance.
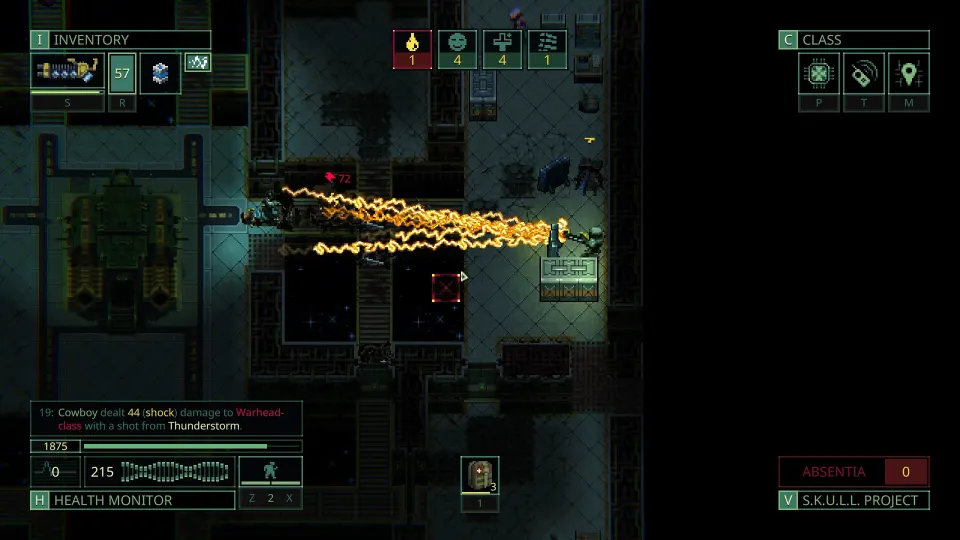
Shock weapons deserve special respect. Shock resistance may be difficult or impossible to raise through ordinary equipment choices, so planning around it matters more than trying to solve it with one upgrade. Keep distance, use cover, and eliminate shock enemies before they gain repeated firing opportunities.
Entropy damage also requires special attention. Fire and cold can interact to create entropy pressure, and the relevant defense may effectively be limited by the lower of your fire or cold resistance values. Raising only one of those values can leave a hidden weakness.
Radiation and corrosive attacks can be dangerous even if your displayed resistance looks respectable. A hit that causes a wound may still lead to serious consequences, including limb loss or armor degradation. In those cases, avoiding hits and ending the engagement fast can matter more than adding a few resistance points.
Endgame Armor and Upgrade Strategy
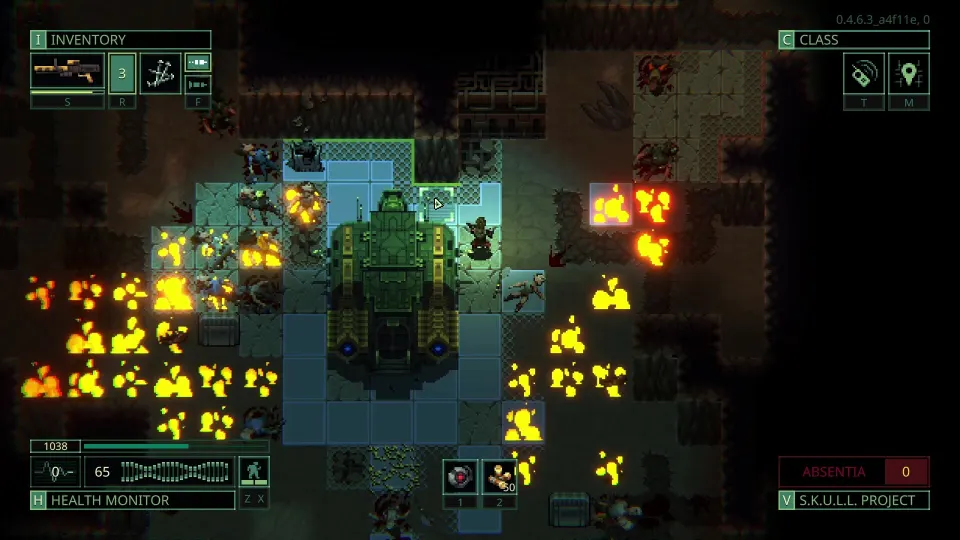
For endgame content, aim for high-tier armor with broad protection and as few exploitable gaps as possible. Tier-eight and tier-nine armor provide the best long-term upgrade targets because the materials you spend improve equipment worth retaining.
A Seraphim-pattern style of armor is a useful example of the endgame principle: broad resistance coverage is valuable, but a missing beam or shock defense can still determine whether it is appropriate for a particular mission. No set is universally invulnerable.
Do not assume every resistance deserves equal investment. Upgrade according to actual risk. If a stat offers little practical protection against the enemies you face, putting resources there may delay upgrades that would save your clone.
A disciplined endgame upgrade plan looks like this:
- Obtain a high-tier set with strong overall coverage.
- Identify its lowest meaningful resistance.
- Compare that weakness with the enemies and weapons in your intended destination.
- Upgrade the relevant stat rather than spreading materials across everything.
- Recheck total weight and dodge after each major change.
- Keep a lighter alternative set for missions where mobility is more valuable.
Clone upgrades complement armor rather than replace it. Sight range should be an early priority because seeing threats first helps prevent unfavorable close-range fights. Dodge upgrades are valuable when your gear stays light enough to use them, while accuracy upgrades help end dangerous encounters before enemies can stack hits or effects.
Implants and body modifications can also support an armor plan. Improvements to carrying capacity, pain handling, wound resistance, reload speed, running action points, and mobility reduce the weaknesses that armor alone cannot solve. A heavily protected clone that cannot reposition or recover from wounds is still vulnerable.
FAQ
What is the Quasimorph best armor choice for most missions?
The Quasimorph best armor setup is usually a high-tier set with solid physical protection, useful elemental coverage, manageable weight, and no mission-critical resistance gap. The exact pieces depend on enemy damage types and your clone’s dodge.
Should I wear the heaviest armor available?
Not automatically. Heavy armor can reduce dodge so much that burst fire and shotguns become dramatically more dangerous. Compare the extra resistance against the accuracy bonus enemies receive from your reduced dodge.
Is it worth upgrading early armor?
Yes, when a few affordable upgrades remove a dangerous weakness or make a dependable midgame set safer. Avoid pouring major resources into temporary low-tier gear when you are close to finding stronger armor.
Which resistance should I prioritize?
Start with physical resistance, then target the threats expected in your mission. Watch fire and cold together for entropy danger, and treat shock, radiation, corrosive attacks, and armor-piercing weapons as threats that may require tactical play beyond resistance.
Why do I die quickly despite good armor?
You may be fighting at close range, carrying too much weight, facing armor penetration, or taking repeated hits from burst weapons. Improve positioning, use cover, maintain distance, and check whether one low resistance is being exploited.