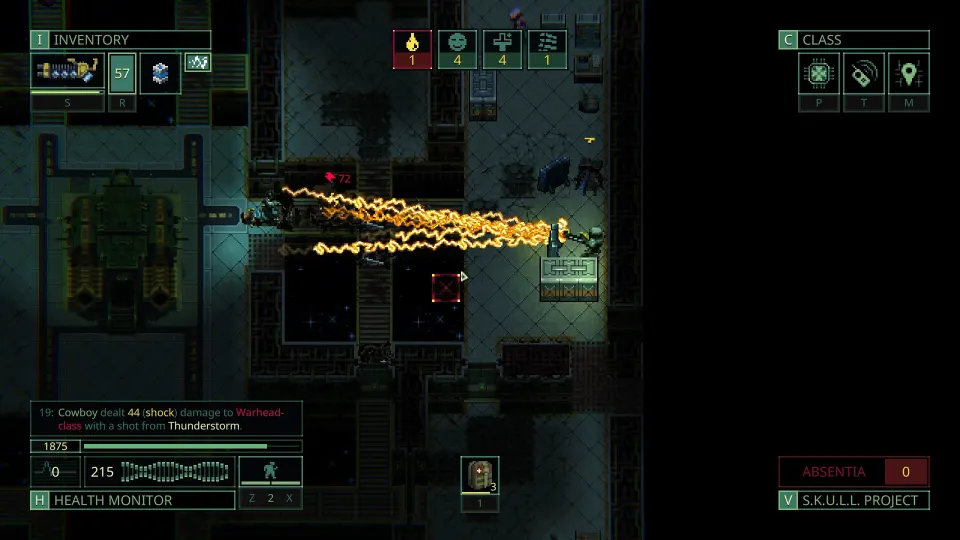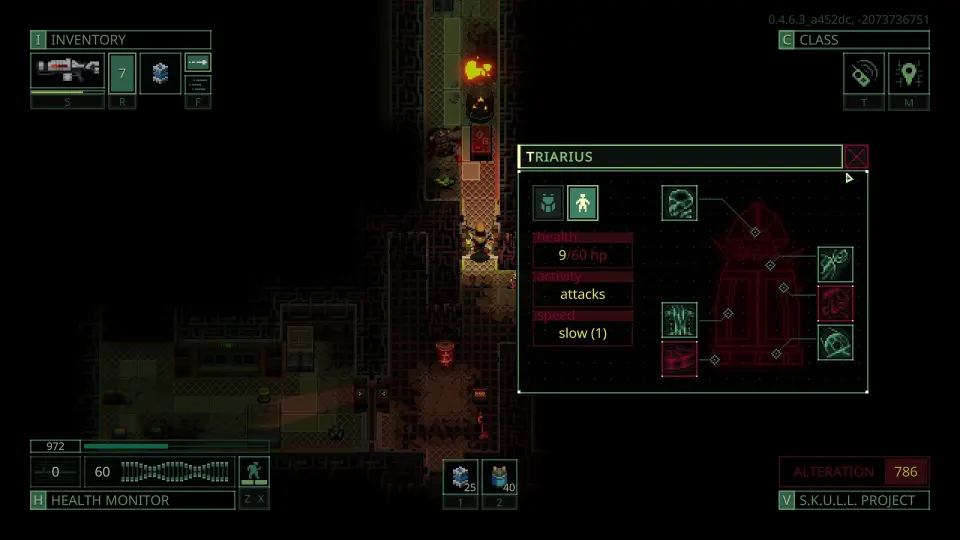
Why Loot Priorities Decide Missions
In Quasimorph, a full backpack can be more dangerous than an empty one. If common scrap fills every slot before you find a mission device, chip, or ship component, you may have to abandon the item that actually advances your campaign.
Loot is not simply a question of sale value. Judge it by what it changes: does it complete the contract, permanently improve the Magnum, replace a resource you urgently need, or help your operator survive extraction? Everything else competes for the remaining space.
Reserve room for the objective before opening optional containers. Retrieval missions can fail at the last moment if your inventory is clogged with duplicate guns and crafting materials.
| Priority | Loot category | Why it matters | When to leave it |
|---|---|---|---|
| 1 | Mission objective | Required for completion and extraction | Never intentionally |
| 2 | Knowledge, class, and mind chips | Can unlock production, operators, classes, or systems | Only if extraction is impossible |
| 3 | Magnum ship components | Permanent campaign progress | Leave extras outside your current plan |
| 4 | Medical supplies and needed ammo | Keeps the operator alive | Drop surplus once extraction is secure |
| 5 | Backpacks and equipment upgrades | Improves future carrying capacity or loadout | Ignore damaged duplicates |
| 6 | Common materials and trade goods | Supports crafting, repairs, and barter | Stop after covering a current need |
A low-value component for your next ship upgrade is often better than an expensive weapon you cannot use. Permanent progress improves every later contract; ordinary gear usually does not.
Prepare the Backpack Before Landing
Good looting begins in the contract briefing, not after the first enemy dies. Read the objective, note the number of floors, and decide whether the mission calls for deep exploration or a quick retrieval and extraction.
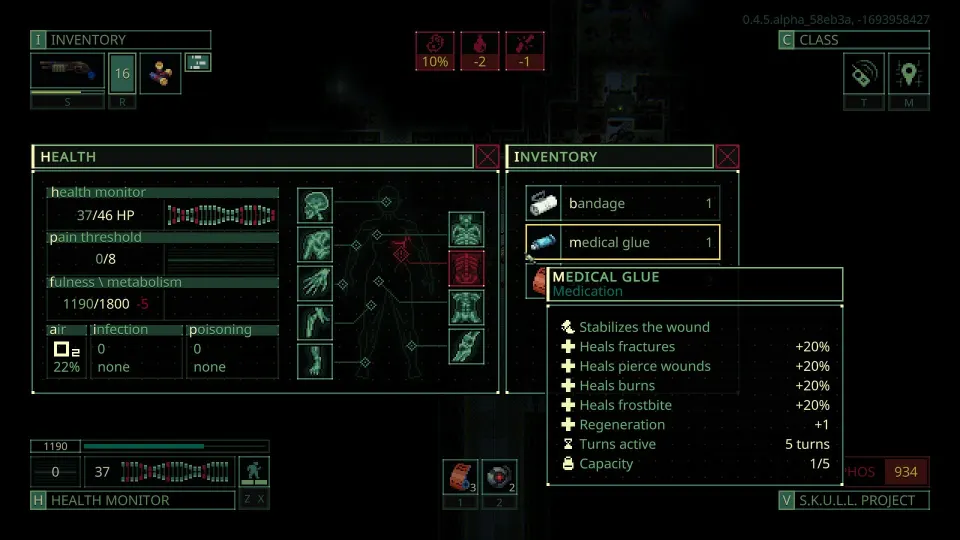
Bring enough supplies to reach the goal, not enough to clear every room indefinitely. Weight reduces dodge effectiveness, while a crowded pack makes it harder to carry important finds home. Early missions are often safer with a practical weapon, modest ammunition, bandages, splints, and infection treatment than with an overloaded combat kit.
Use this pre-launch checklist:
- Identify the contract item and reserve at least one inventory slot.
- Check the next Magnum upgrade and note its missing components.
- Choose one primary ammunition type when possible.
- Carry treatment for bleeding, broken limbs, and infection.
- Leave room for a better backpack, chip, or rare component.
- Decide which common materials have already met your stockpile target.
| Mission situation | Pack approach | Looting decision |
|---|---|---|
| Unknown elevator or mandatory floors remain | Carry food, water, medicine, and ammo reserves | Survival supplies stay high priority |
| Retrieval objective not yet found | Keep a slot open from the start | Skip heavy weapons and duplicate armor |
| Objective secured and exit known | Reassess health, calories, and ammunition | Replace excess supplies with permanent upgrades |
| Easy early contract | Pack lightly to preserve capacity | Favor upgrade materials, chips, and better bags |
| High-risk mission | Prioritize a reliable kit and treatment | Extract after securing major progression loot |
Avoid treating every floor like a vacuum-cleaning exercise. Optional rooms are worthwhile when they solve a named problem: a chip, a specific component, medicine, a replacement weapon, or a larger bag. Generic loot may not justify the damage, calories, turns, and ammunition needed to obtain it.
What to Keep, Break Down, or Drop
Chips should nearly always move to the top of your list. Production chips can broaden Magnum fabrication, while mind and class chips can expand your operators and options. Once you find one that unlocks something useful, leaving the facility is often correct. A successful extraction with one permanent unlock beats a failed attempt to haul out an entire floor.
Ship components deserve the same attention, but with a filter: pursue the upgrade you are actually building next. Check whether your bottleneck is contract availability, scanning, cargo protection, supplies, or cloning capacity. A component that completes that step is more useful than speculative materials for future projects.
| Item type | Usually keep? | Best use | Practical limit |
|---|---|---|---|
| Chips | Yes | Permanent unlocks and production | Extract once a valuable one is secured |
| Upgrade components | Yes, if needed next | Magnum progression | Carry targeted components |
| Larger backpacks | Usually | More future cargo capacity | Replace weaker packs when practical |
| Antibiotics and medical items | Yes | Recovery and medkit crafting | Keep enough for current risk |
| Rags and plastic | Early game, selectively | Bandages, splints, food, repairs | One useful stack is often enough |
| Loose ammunition | Only if compatible or needed | Combat or dismantling | Drop surplus first when space is tight |
| Weapons and armor | Only upgrades or backups | Equip, repair, or dismantle | Avoid low-condition duplicates |
Rags and plastic are valuable at the beginning because they support emergency care, repairs, and basic crafting. Their weakness is abundance: they can quietly consume the whole backpack. Once you have a workable stack or enough for the recipe you intend to make, stop collecting more unless the mission creates an immediate shortage.
Disassembly makes bulky loot more flexible. Weapons, armor, and ammunition can become parts, cloth, plastic, gunpowder, or other materials. Break down items when the resulting resources support a current plan and take less useful space than intact equipment. Do not dismantle your only dependable weapon or protective gear just because it yields materials.
Unload a weapon before comparing, dismantling, or dropping it. Carry ammunition for the gun you expect to use plus a small reserve; extra stacks become dead weight that reduces dodge and blocks better loot. Compatible ammo outranks generic trade goods when supplies are low. When extraction is ready, it is often among the first things to discard.
Loot Routes and Safe Extraction
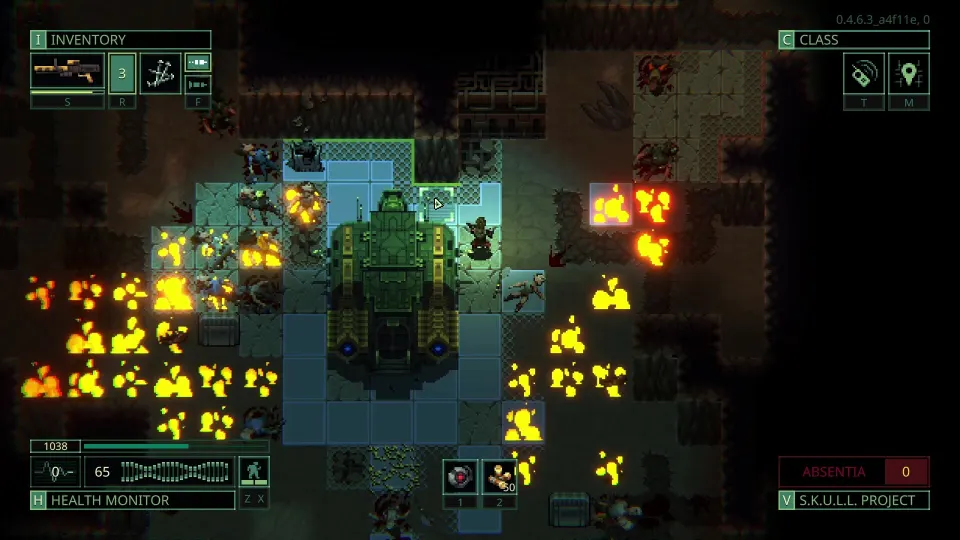
A strong route has two phases: find the required item, then get out. Before the objective is secured, move toward marked targets, elevators, or the contract’s final floor rather than clearing every side room. After securing it, reopen the map and choose the shortest known path back.
Stealth movement helps reveal nearby threats and conserves resources while exploring. Normal movement gives more combat flexibility, letting you reposition and attack without reckless door breaches. Avoid opening an unfamiliar room on your final action; enemies can punish an operator with no movement left to retreat.
Keep the extraction route in mind whenever you choose loot. Food, water, and medicine have high value while the elevator is unknown, the operator is wounded, or another required floor remains. Their value falls sharply after the objective is complete and the exit is mapped.
| Extraction condition | Keep first | Drop first |
|---|---|---|
| Objective still missing | Medicine, food, water, usable ammo | Duplicate gear and generic materials |
| Valuable chip found | Chip, treatment, route supplies | Low-tier weapons and surplus stacks |
| Backpack damaged or nearly full | Objective, components, compact valuables | Heavy low-value equipment |
| Exit known and operator stable | Upgrade parts, chips, rare equipment | Extra water, food, and spare ammo |
| Operator low on health or calories | Healing, food, compatible ammunition | Optional trade goods |
Backpacks are strategic loot. A larger bag can make later runs much stronger, so it may outrank an ordinary firearm. Crafting or finding a duffel-style upgrade early relieves harsh inventory pressure, but watch backpack durability. A failed pack can spill valuable items before you notice.
Later upgrades, capsules, and expanded shuttle storage reduce pressure, but they do not replace judgment. Use protected cargo capacity for items that cannot be easily replaced: permanent unlocks, rare ship parts, and mission-critical valuables. Do not spend that safety on plastic or a common gun.
FAQ
What is the best early-game loot in this Quasimorph looting guide?
Prioritize ship-upgrade materials, chips, medical supplies, a better backpack, and one working stack of basic crafting materials. Rags and plastic are especially useful early because they support bandages, splints, repairs, and survival crafting.
Should I extract immediately after finding a chip?
Usually, yes, if it unlocks something new and you have no other required objective. A chip creates permanent progress, while continued exploration adds risk. Stay only for a specific reason, such as a mandatory floor or nearby upgrade component.
Are weapons worth carrying back to the Magnum?
Carry weapons that improve your loadout, provide a needed backup, use ammunition you can support, or break down into materials you need. Leave low-condition duplicates and weapons that are too heavy for their value.
How much food and water should I loot?
Keep enough for unexplored floors and the return trip. Once the objective is complete and extraction is known, surplus food and water can be exchanged for a chip, ship component, medical item, or better backpack.
Is dismantling loot better than selling it?
It depends on your bottleneck. Dismantle gear when you need materials for repairs, ammunition, medicine, or fabrication. Keep trade goods when faction credit or a specific barter purchase matters more.