Why Classes Matter
Unlocking more classes gives your clones clearer jobs, stronger perk combinations, and better ways to survive punishing contracts. The quasimorph unlock classes system matters because a good class can turn a useful clone trait into a focused build.
You begin with limited options: two available classes and two clones. The rest are not earned by simply leveling up a clone. Instead, obtain the appropriate class chip to expand your roster choices.
Classes do not replace a clone’s unique trait. They add perks and a playstyle. A clone with extra weapon range can become a better marksman, while a durable clone may get more value from a frontline or survival-oriented role.
| What you are unlocking | How it affects play |
|---|---|
| Class | Adds a new role, perk set, and build direction |
| Class chip | The item needed to unlock its associated class |
| Clone | Keeps its unique trait regardless of assigned class |
| Class-and-clone pairing | Combines traits and perks for a specialized build |
Do not assume every unlock must immediately become your main build. Some classes excel with a specific weapon type, movement style, or resource run, while others improve as your equipment grows stronger.
How to Unlock Classes
The practical answer is simple: find the class chip associated with the class you want. The difficult part is that chips are not guaranteed drops. You can encounter them during contracts, receive them as contract rewards, or occasionally find them through trading.
Because chip acquisition involves luck, steady mission completion matters more than chasing one class too early. Take contracts you can complete reliably, extract with useful loot, and check rewards and trade opportunities whenever they appear.
| Unlock method | What to expect | Best approach |
|---|---|---|
| Contract loot | Class chips may appear during missions | Loot thoroughly when safe |
| Contract rewards | A completed contract can provide a chip | Favor contracts your roster can finish consistently |
| Trading | A chip may become available through trade | Check offers regularly and keep trade goods |
| Repeated progression | More contracts create more chances | Build resources instead of gambling clones |
Early on, safer contracts are usually better for progression than high-risk defense missions. Defense missions limit map loot to what attackers bring, offer fewer useful places to take cover, and can be awkward for melee-focused characters.
Before accepting a mission, use its displayed danger level and floor count to plan supplies. More difficult contracts may require extra ammunition, food, medicine, and spare equipment. Losing a well-equipped clone before extraction is rarely worth a marginally better chance at a chip.
A simple unlock routine helps:
- Run contracts suited to your current weapons and supplies.
- Search containers and rooms when it is safe.
- Complete contracts instead of overextending for one more fight.
- Inspect contract rewards before choosing your next job.
- Review trade options whenever you return with valuables.
- Save promising chips until you can support the class with suitable gear.
Mars, Phobos, and Deimos can be friendlier places to build an early foundation before progressing deeper into more dangerous activity. Before the main quest changes the situation there, you generally face ordinary humanoid enemies rather than the escalating threat of Q-morphosis. That gives you room to explore, loot, dismantle items, and learn a class without a constant clock.
Choosing a Class for Your Clone
A class is strongest when its perks reinforce how a clone already performs. That does not mean there is only one correct pairing. Ask what the clone is already good at, then choose a role that makes that advantage matter more often.
Victoria Boudicca is a strong example. Her increased weapon range is valuable with many firearms, but it becomes especially dangerous in ranged builds. Longer reach lets her engage sooner, and a class that improves accuracy, wounds, or firearm handling can make those first shots decisive.
| Clone or role | Useful strength | Natural build direction |
|---|---|---|
| Victoria Boudicca | Increased weapon range | Marksman or shotgun-focused ranged build |
| Scout of Hades | Can narrow shotgun scatter through its perks | Aggressive close-to-mid-range shotgun play |
| Angel of Spades | Supports ranged damage and wound-focused shooting | Marksman rifles and heavy rifles |
| Percy | High resistance and ability to absorb punishment | Tunnel Rat or Martian Infantry-style durability build |
| Francis Lee Daily | Better weapon durability and reduced weapon weight | Energy weapon-focused Phoenix Brigade build |
Victoria can work particularly well with the Scout of Hades and a shotgun. Extra range makes a shotgun useful farther from danger, while tighter scatter helps more pellets land where intended. It is a forgiving approach for players who want hard-hitting weapons without relying entirely on precision rifle shots.
An Angel of Spades approach emphasizes a different version of ranged combat. It suits a player who prefers to create wounds, exploit range and accuracy, and stop enemies before they close in. Heavy rifles with armor penetration are especially appealing when you want reliable pressure against tougher targets.
Percy is a sensible choice when you need survivability. His resistance makes mistakes less immediately fatal, which helps while learning mission layouts, enemy behavior, and item management. Tunnel Rat and Martian Infantry-style roles complement a clone expected to take damage and remain functional.
Francis Lee Daily has a clear relationship with energy weapons. His durability bonus helps offset how quickly fragile energy weapons can wear down, while reduced equipped-weapon weight makes heavier loadouts easier to carry. Phoenix Brigade perks can further support energy-weapon use by reducing battery consumption in favorable situations.
Do not lock yourself into melee just because a class appears melee-oriented. Melee can be effective, but later enemies may use grenades and other threats that make close-range positioning risky. Carry a practical ranged backup unless you understand the contract’s risks.
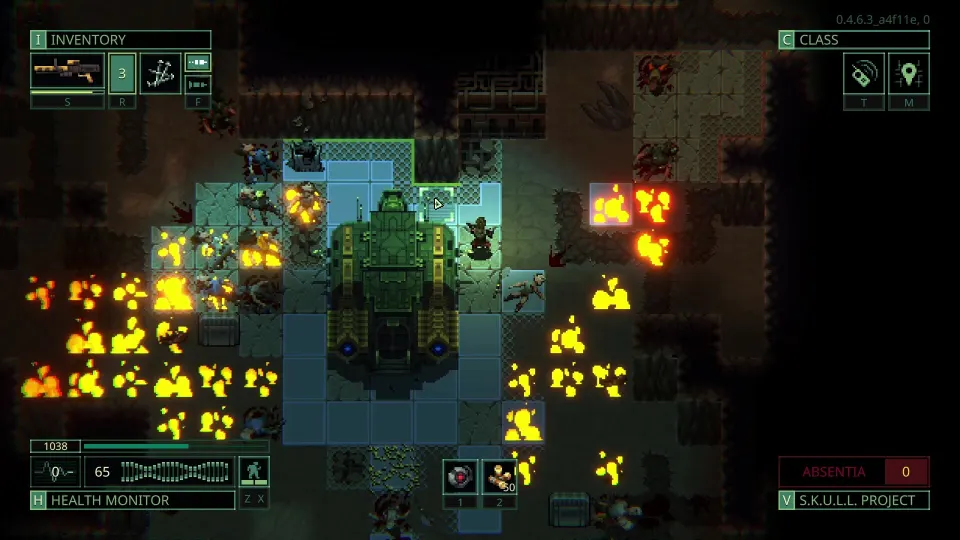
Building Momentum After an Unlock
An unlocked class is only part of the upgrade. The next step is learning the movement, supplies, and mission habits that allow that class to work. A powerful build still fails if it enters a long contract without food, medicine, ammunition, or an escape plan.
Movement mode is useful for any class. Stealth movement is often ideal outside combat because it consumes fewer calories per action and helps reveal nearby enemies, including enemies behind closed doors. Normal movement gives two actions and is usually the most flexible combat choice. Running provides three actions but reduces accuracy and prevents interactions such as looting, opening doors, or treating wounds.
| Movement mode | Main benefit | Main drawback | Good use case |
|---|---|---|---|
| Stealth | Better awareness and lower calorie use | Slow movement | Exploring and approaching unknown rooms |
| Normal | Two actions for flexible turns | Less speed than running | Most firefights and door entries |
| Run | Three actions for rapid repositioning | Accuracy penalty and no interactions | Escaping danger or mobility builds |
Protect your unlocked class investment by managing the map carefully. Remove fuel and poison from containers before a firefight if they are likely to be hit. A stray bullet can turn an ordinary exchange into an explosion or hazardous mess, and interacting with the container lets you drop dangerous material onto the ground.
Dismantling equipment also supports class progression. Ammo, weapons, armor, and other items can become crafting resources. As you learn which materials come from which items, you can enter missions with a clearer idea of what to collect for ammunition, repairs, or future crafting needs.
Temporary health can matter, too. A furuncle can increase health for the current mission, although consuming one can cause infection. Use it only if the extra health could change the outcome and you have a plan to handle the potential consequence.
The best class is the one that makes your successful habits easier to repeat. If you like slow scouting and controlled long-range fights, build around range and accuracy. If you prefer carrying heavy weapons and surviving mistakes, choose durability. If your goal is resource accumulation, favor a dependable setup that gets in, loots, and extracts.
FAQ
How do quasimorph unlock classes work?
Quasimorph unlock classes through class chips. Find the chip for a class through contract loot, contract rewards, or trading, then unlock that class for future clone assignments.
Do classes unlock automatically when a clone levels up?
No. Clone progression and class unlocking are separate. A clone can improve over time, but you still need the relevant class chip to add a new class to your options.
Should I prioritize hard missions for class chips?
Usually not at the start. Reliable mission completion creates more chances for loot and rewards, while failed high-risk contracts can cost far more than they provide.
Can one clone use different classes?
Yes. A clone’s unique trait stays with that clone, while the class determines the added perk package and combat role. Experiment with pairings that support the clone’s strengths.
Which early class pairing is easiest to use?
Victoria Boudicca with a ranged-focused class is approachable because her extra weapon range is immediately useful. A Scout of Hades shotgun setup can also be strong thanks to improved range and tighter shot spread.